Solo Backpacking Tips for Beginners: How to Plan & Stay Safe
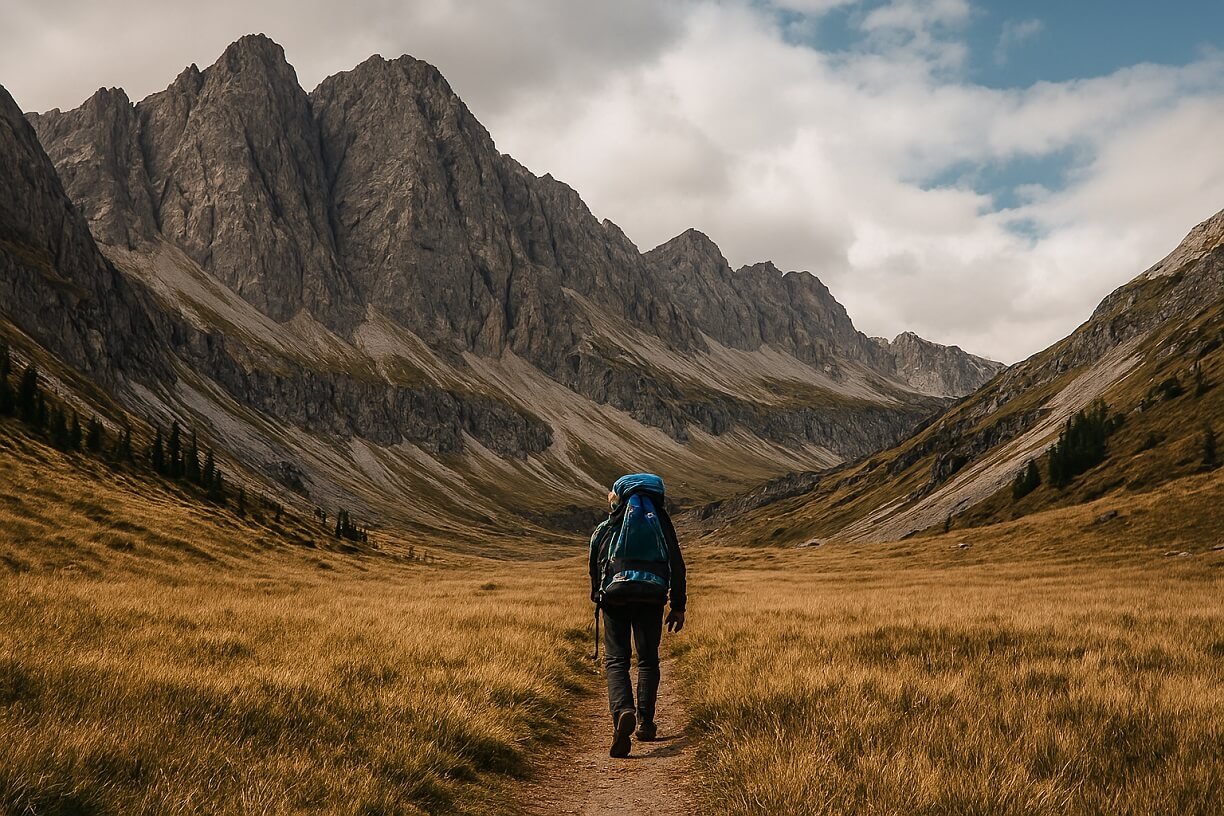
Backpacking alone can feel exciting and intimidating at the same time. On one hand, there’s freedom—you get to move at your own pace, take your own path, and soak up the quiet of nature. On the other hand, you don’t have a buddy to split gear with, ask for advice, or help in tricky moments.
That’s why a little preparation goes a long way. If you’re new to solo backpacking, don’t worry—I’ve been there. In this guide, I’ll walk you through everything you need to know to plan, pack, and stay safe on your first trip. Think of it as advice from a friend who’s already learned from a few mistakes.
Let’s break it down step by step.
Why Go Solo Backpacking?
Before diving into the how-to, let’s pause for a second. Why even go solo?
- Freedom of choice: No need to match someone else’s pace. If you want to stop and photograph a sunset for an hour, you can.
- Confidence building: There’s something powerful about realizing you can navigate the trail, set up camp, and handle challenges by yourself.
- Deeper connection with nature: Being alone makes every sound, smell, and sight more noticeable. The forest feels more alive.
- Mental clarity: No distractions, no small talk. Just you, your thoughts, and the trail.

Step 1: Planning Your First Solo Trip
The planning stage is where most beginners either overdo it or underdo it. Let’s strike a balance.
1.1 Start Small
Don’t make your first solo trip a 10-day trek through the Rockies. Start with a short overnight or a weekend hike close to home. That way, you’ll learn without feeling overwhelmed.
1.2 Pick a Well-Marked Trail
Choose a popular trail that’s well-maintained and easy to navigate. National and state parks often have good beginner-friendly routes.
1.3 Check Permits & Regulations
Some trails require permits for camping. Check online before you go. Getting turned away at the trailhead because of paperwork isn’t fun.
1.4 Tell Someone Your Plan
Always share your itinerary with a trusted friend or family member. Include:
- Your starting point and time
- Planned route
- Expected return date
- Emergency contact details
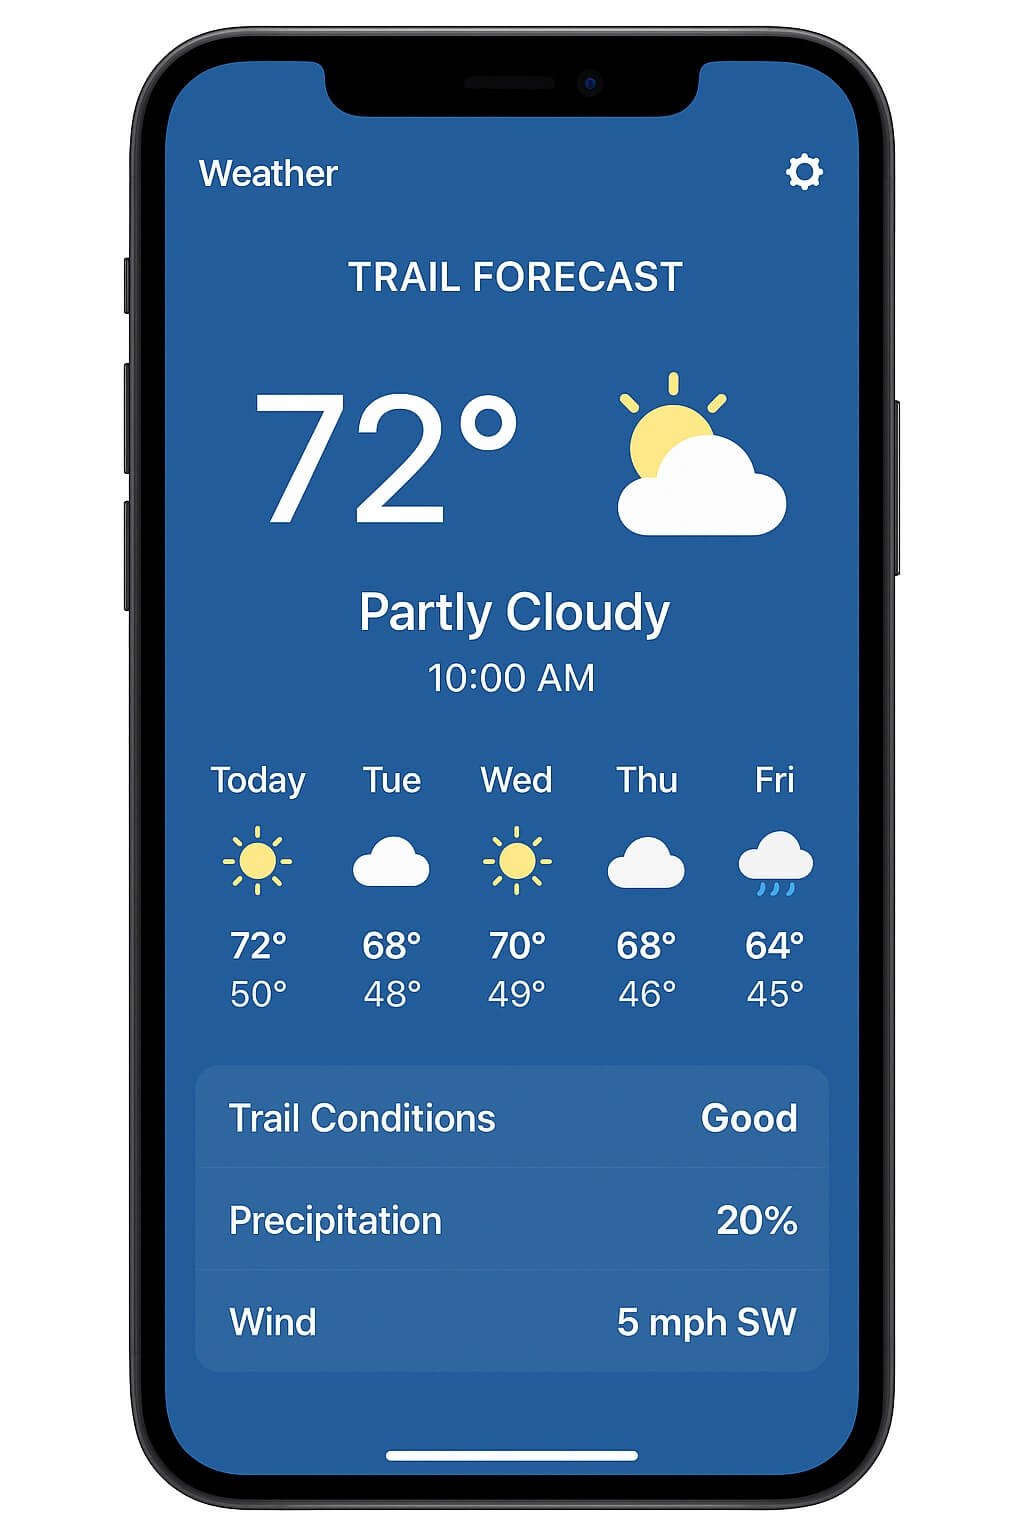
1.5 Weather & Season
Look at the weather forecast for the entire duration of your trip. Don’t risk solo backpacking in storms, heavy rain, or extreme cold as a beginner.
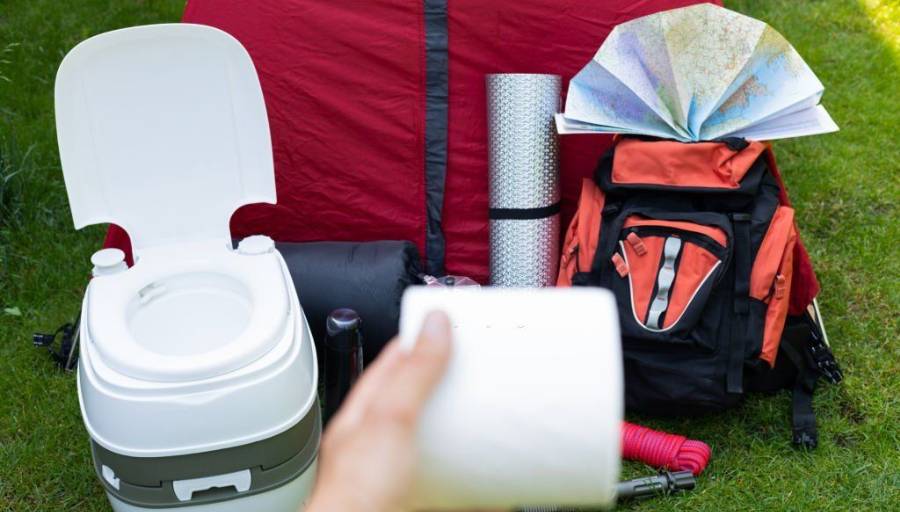
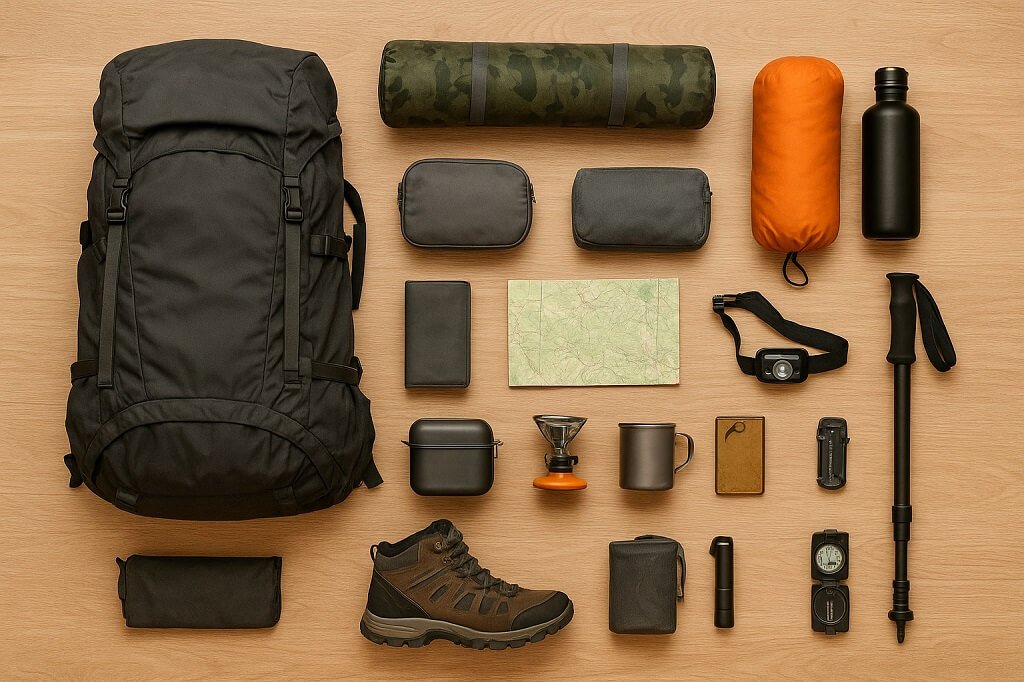
Step 2: Packing Essentials for Solo Backpacking
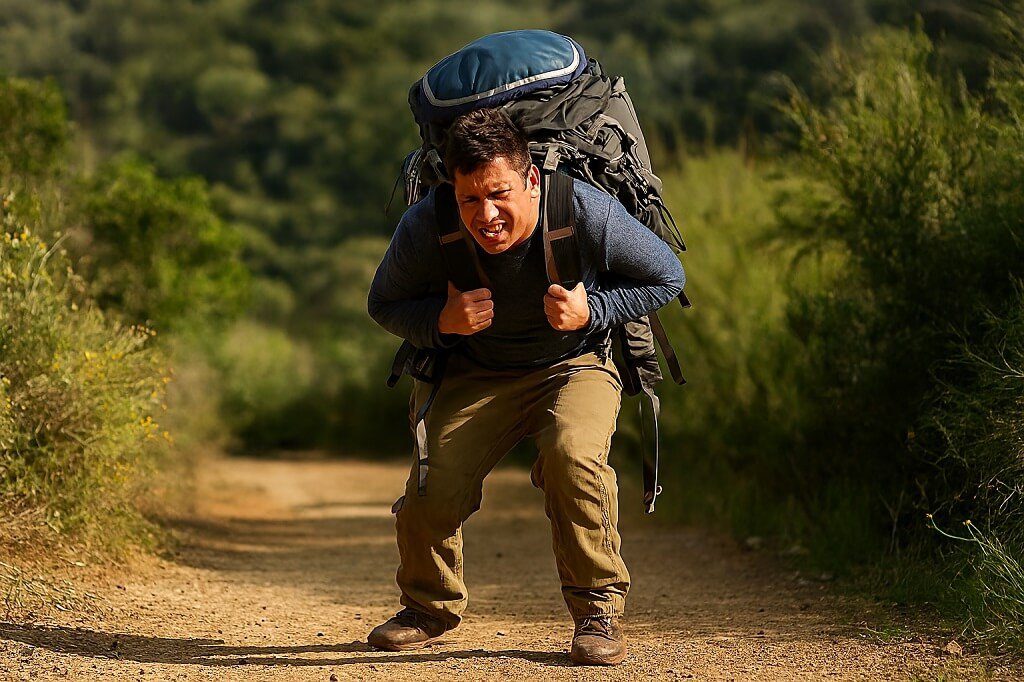
Packing solo is a little trickier because you carry everything yourself. But it doesn’t have to weigh you down.
2.1 Backpack Size
For a weekend trip, a 40–50L backpack is usually enough. Beginners often pack too much. A lighter load means a happier trip.
2.2 Shelter Options
Your shelter can make or break a trip, especially when weather and comfort are at stake. The right choice depends on your priorities—whether that’s space, weight, or simplicity.
- Lightweight Tent: A popular option for most solo campers, a lightweight tent offers solid protection from wind, rain, and insects. It gives you a private space to stretch out and store gear, making it a dependable all-round choice for comfort and security in changing conditions.
- Hammock with Tarp: This setup is lighter than most tents and keeps you off the damp ground. The tarp overhead protects against rain, while the hammock allows better airflow, making it a favorite among ultralight backpackers who don’t mind skipping the traditional tent.
- Bivy Sack: For those chasing the lightest possible pack, a bivy sack is the go-to. It’s compact, fast to set up, and provides basic protection from wind and moisture. However, it can feel tight for some, so it suits minimalist hikers who value low weight over spacious comfort.
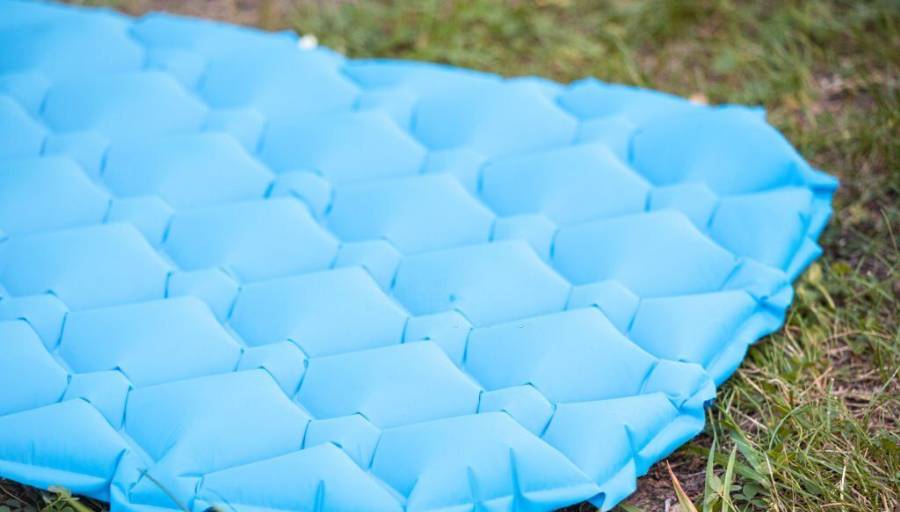
2.3 Sleeping System
A good night’s sleep is essential for energy and safety on the trail, and the right sleeping system makes all the difference.
- Sleeping Bag: Choose a bag that’s rated for the season and conditions you’ll face. Down sleeping bags are lightweight and packable, making them great for cold, dry climates. Synthetic bags handle moisture better and dry faster, which is useful in damp or unpredictable weather.
- Sleeping Pad: A pad is just as important as the bag. It adds comfort but, more importantly, provides insulation from the cold ground. Without it, even the warmest sleeping bag can lose effectiveness.
2.4 Cooking Gear
- Compact stove (canister or alcohol stove)
- Fuel + lighter/matches
- Small pot or cook set
- Spork or lightweight utensil
- Freeze-dried meals or simple pasta
2.5 Food & Water
Pack easy, calorie-dense foods like trail mix, nut butter packets, tortillas, dried fruit, and instant oatmeal to stay fueled without extra weight. For hydration, always carry a water filter bottle or purification tablets to make sure any source is safe to drink.
2.6 Clothing
Follow the layering system:
- Base layer (moisture-wicking)
- Insulating layer (fleece or down jacket)
- Outer shell (rain jacket)
- Extra socks & underwear
2.7 Navigation & Safety
- Map + compass (and know how to use them)
- GPS or navigation app (with offline maps)
- Headlamp + spare batteries
- First aid kit
- Multi-tool or knife
- Whistle
Step 3: Safety Tips for Solo Backpackers
Safety is probably the biggest concern for beginners—and it should be. Here’s how to minimize risks.
3.1 Trust Your Gut
If a situation feels off, trust your instincts. Whether it’s pushing too far on the trail, a sketchy campsite, or bad weather—play it safe.
3.2 Stay Visible
If possible, stick to marked trails and set up camp in areas where others might pass by. This makes it easier to get help if needed.
3.3 Wildlife Awareness
Learn what animals live in the area. In bear country, carry bear spray and store food in bear-proof containers. In snake country, wear boots and stay alert.
3.4 Navigation Backup
Don’t rely solely on your phone. Batteries can die or signal can fail. Always carry a physical map and compass to navigate safely and stay on track in any situation.
3.5 Emergency Contacts
A satellite messenger or personal locator beacon (PLB) is a game-changer. If you plan to backpack more often, consider investing in one.
3.6 Camp Smart
- Don’t camp right next to water sources (bugs, flooding risk).
- Don’t cook or eat in your tent.
- Learn Leave No Trace principles.
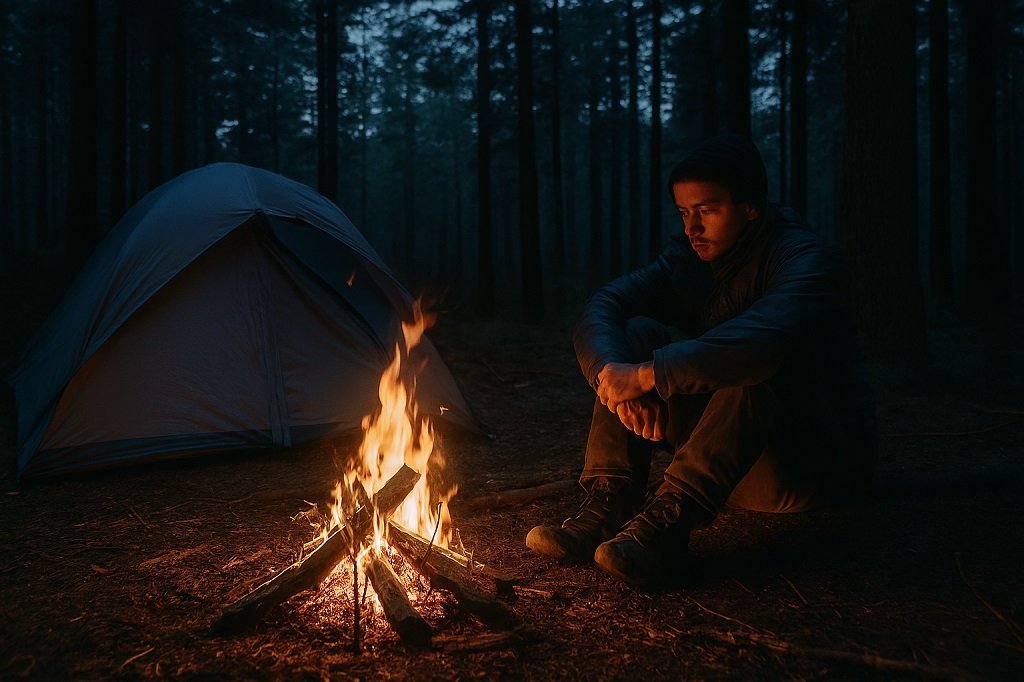
Step 4: Mental Side of Solo Backpacking
Many beginners think the hardest part is the physical challenge. In reality, the mental part can be tougher.
- Loneliness: It’s normal to feel uneasy when night falls and it’s just you in the wilderness.
- Fear of the dark: Every twig snap will sound like a bear. With time, you learn the forest sounds.
- Self-motivation: No partner means no one to push you. You’ll need to push yourself.
Step 5: Common Mistakes Beginners Make
Learning from others’ mistakes can save time, energy, and stress on the trail. Here are some pitfalls to watch out for:
- Overpacking: Carrying 50 lbs of gear for a weekend trip turns a fun hike into a struggle. Pack only essentials and aim for lightweight gear.
- Ignoring Weather: Getting caught in rain or a storm can be dangerous, especially when hiking alone. Always check forecasts and be prepared.
- Not Testing Gear First: Practice setting up your tent, stove, and other equipment at home. You don’t want surprises in the wilderness.
- Poor Food Planning: Bringing too much food adds weight, while too little leaves you underpowered. Plan calorie-dense, easy-to-cook meals.
- No Fitness Prep: Backpacking is physically demanding. Gradually train with weighted packs to avoid exhaustion or injury.
Solo Backpacking Checklist
Before you head out, run through this list:
- Backpack (40–50L)
- Shelter (tent/hammock/bivy)
- Sleeping bag + pad
- Stove + fuel
- Food (per day + extra)
- Water filter/purification
- Navigation tools
- Clothing layers
- First aid kit
- Headlamp
- Multi-tool/knife
- Whistle
- Emergency contact plan
FAQs About Solo Backpacking Tips
Is solo backpacking safe for beginners?
Yes—if you prepare properly, start with easy trails, and share your plan with someone. Most risks come from poor planning, not being alone.
How much weight should I carry?
A good guideline is 20–25% of your body weight. For most beginners, this works out to roughly 25–35 lbs. Overpacking can make even short hikes exhausting, while underpacking can leave you vulnerable.
What if I get lost?
First, stay calm—panicking worsens the situation. Stop, assess, and retrace your steps if possible. Check your map, GPS, or compass, and look for landmarks. If you still can’t find your way, use a whistle, mirror, or satellite messenger to signal for help.
What if I get scared at night?
Feeling uneasy at night is completely normal. Forest sounds—snapping twigs, rustling leaves—can seem threatening at first. Bringing slight comforts like a book, podcast, or music can help you relax. Over time, you’ll learn to identify harmless noises and develop confidence in your campsite.
Do I need expensive gear?
Not necessarily. Focus on high-quality essentials like a backpack, shelter, and sleeping system. You can borrow, rent, or buy mid-range gear for items you’re unsure about. Expensive gear is nice, but it isn’t required for a safe and enjoyable trip. The key is knowing your needs and gradually upgrading as you gain experience.
Should I bring a weapon?
Most of the time, no. A whistle, bear spray (if in bear country), and smart camping practices—like storing food properly and staying alert—are enough. Weapons can add weight and complexity, and proper preparation is usually far more effective at keeping you safe.
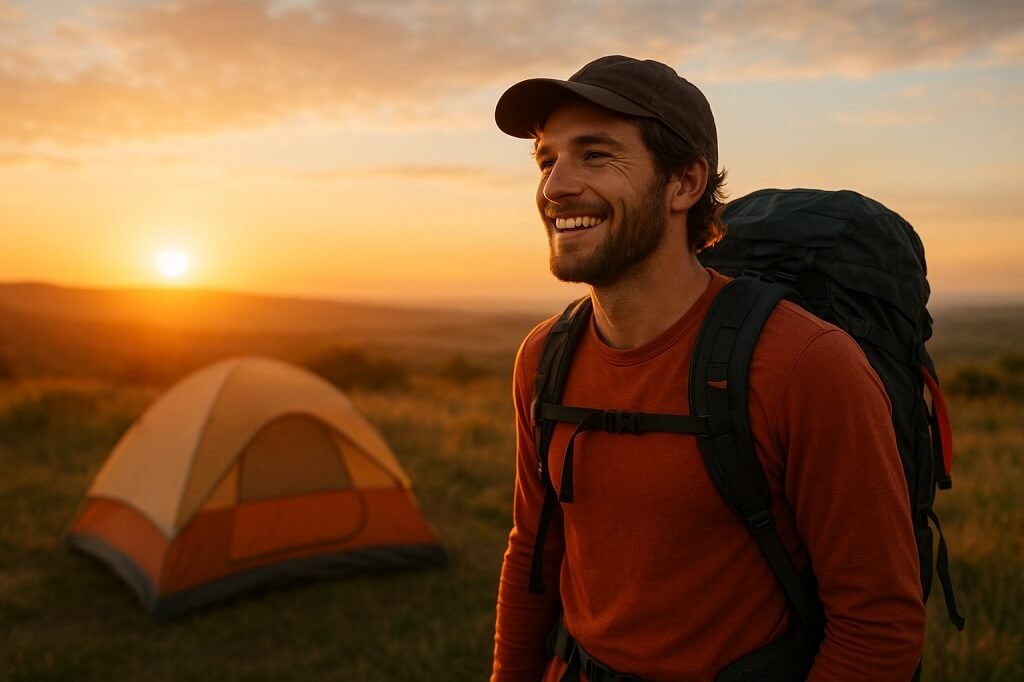
Final Thoughts
Solo backpacking isn’t just about hiking alone—it’s about proving to yourself that you can handle the challenge. Your first trip doesn’t need to be epic. It just needs to give you confidence. From there, you’ll be hooked. Remember: plan smart, pack light, stay safe, and trust yourself. Every trip will teach you something new.