Light a Campfire Fast & Put It Out Safely
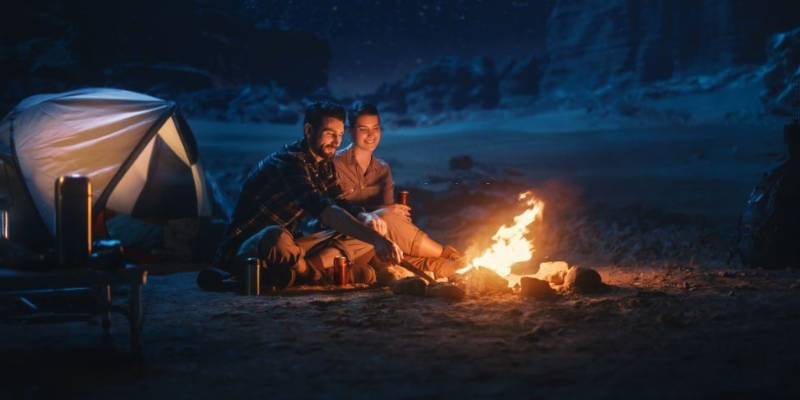
Fire has a primal link to us. It gives warmth, lights up the dark, keeps wild animals away, and cooks our food. That is why fire fascinates us in a magical way. A crackling campfire creates a cozy vibe. It’s perfect for stories, songs, and tasty stick-grilled bread. And there is nothing more romantic than snuggling up to your sweetheart under the starry sky.
That’s why everyone should know how to make the perfect campfire. If you don’t know how to light and extinguish a campfire, this guide is for you. And it’s not difficult at all!
How to Light and Extinguish a Campfire Properly
Let’s see how to light and extinguish a campfire in our step-by-step guide.
This is what you need for the perfect campfire:
- A suitable fireplace
- Tinder, kindling and firewood
- A lighter or matches
- A bucket of water or sand
1. A Safe Fire Pit
When making a campfire, think about safety first. You don’t want to start a blazing forest fire.
On the campsite
If your campsite has a designated fire pit, use it. Here, the fire is safe, and you can easily control it. Always ask the campsite operator if and where open fires are allowed! Sometimes campfires are forbidden, especially during dry periods. If allowed, you can also build your own ring of fire.
Build the fireplace yourself
Some campgrounds and the great outdoors don’t have a fire pit that you can use. Then you have to build your own. To make a fireplace, keep a few meters away from bushes, trees, and other combustible materials. A distance of at least 5 meters should be maintained from tents.
I should take particular care when it is windy: flying sparks can easily burn holes in a tent! The fireplace is best located directly on the ground and is free of grass, tree bark, branches and leaves. On dry grass and leaves, fire can spread very easily and develop to an undesirable size.
- Tips: On a meadow, you can cut out grass with your folding spade and put it aside. After extinguishing the campfire, you occupy the fireplace again; the fire is then no longer recognizable.
A ring of stones or a small mound of earth around the fireplace protects the fire from the wind. This will make it easier for you to light the campfire. Keep in mind, wet stones from rivers and slate-like stones can burst in the heat! If the ground is damp, build a dry bed for the campfire out of dirt, sand, or branches laid close together. You can even make a campfire on snow using this technique.
A comfortable alternative when camping by car: a robust fire bowl like this one is the perfect base. It also protects the environment and makes cleaning up after the campfire easier.
2. The Right Firewood
You need 3 types of fuel to make a roaring campfire: tinder, kindling and firewood.
Tinder
Every good campfire starts with good tinder. Tinder catches fire very easily and burns quickly. You can find good tinder in the area: dry leaves, dry grass, pine needles, and small wood chips burn great. You can also bring barbecue lighters or newspapers. If you like it simple and natural, use long-burning fireplace lighters made from natural products.
Kindling
Tinder burns so quickly that you can’t light a thick log with it. Therefore, the second stage is Small Kindling. Small branches are suitable for kindling, which should not be thicker than a pencil. Spruce brushwood is ideal; it easily catches fire and burns brightly.
Finely chopped logs or thin boards are also suitable. To burn as best as possible, split wood should be triangular or square in shape and properly dry. If you don’t want to put your hands on the axe, you can simply buy kindling that has been split and dried.

Firewood
Firewood burns for a long time and keeps the fire alive. There are many good fuels:
Finger-thick branches quickly reignite the fire. Arm-thick branches feed the fire for hours. Thick firewood logs take a long time to light up but burn well into the night. Firewood does not have to be completely dry. As soon as the campfire has hot embers, damp wood will also ignite after a while.
Properly dry birch wood is ideal because it develops practically no smoke. Softwoods burn quickly and with a bright flame. They donate a lot of light and heat for a short time. Also, they crack nicely. However, there are also many sparks flying. Hardwoods do not burn as brightly, but they do burn much longer and with a nicer ember.
- Recommend to Read: How Much Does Firewood Cost? A Guide to Buy Cheap Firewood.
More tips
Dry wood burns best and produces less smoke than damp wood. If you collect wood, you will recognize it easily: dry wood cracks distinctly when broken. Of course, you can also use a wood moisture meter. Standing deadwood is ideal because lying deadwood is often slightly damp.
Gather twice as much tinder, kindling, and firewood as you expect to need. Wood burns surprisingly quickly. And you don’t want to leave your campfire in the middle of the night to look for new firewood in the forest.
Put the firewood in a dry place a few meters away from the fireplace. When it rains, a tarp offers good protection against moisture. This is also where you put your bucket with extinguishing water or extinguishing sand – then you always know where it is.
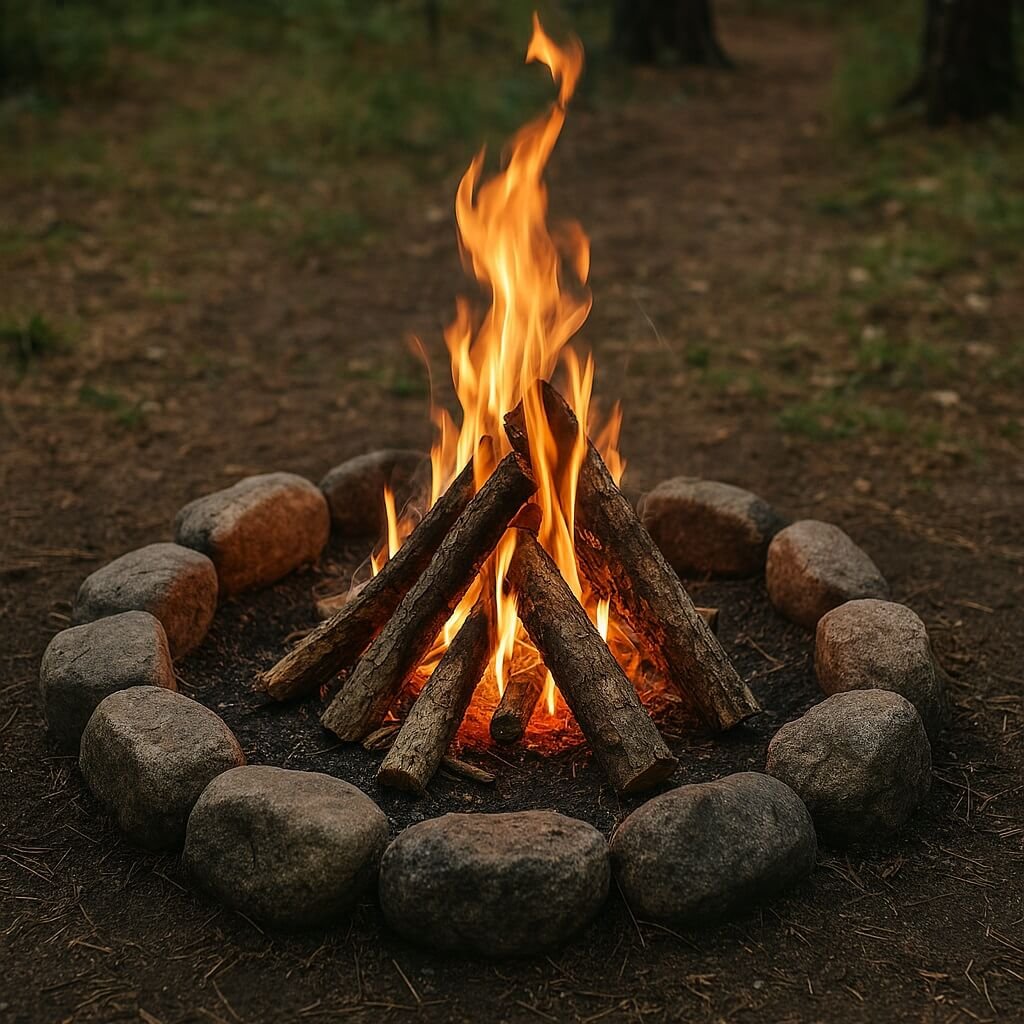
3. Stack the Campfire
The correct construction of the campfire is important so that the fire burns well. The best thing to do is to follow the steps below…
Build base
First, you build a small “floor” for the fire that protects it from soil moisture and gives it nourishment from below. To do this, line up thin kindling, no more than a finger thick, next to each other in the middle of the fireplace. This is followed by a second layer of kindling, but the branches are turned 90 degrees to create a grid.
Hang up tinder
You now place your tinder on this base. It should be two handfuls of dry weed. If you have a wax-soaked chimney starter, half a handful will do.
Add kindling
Build a teepee tent around the tinder using thin kindling. The branches are thus built up in a circle and leaned against each other at the upper end. A small opening remains free through which the campfire is later lit. Now add the slightly thicker kindling to the tipi as the next layer.
Stack firewood
Now you will build a larger firewood tipi tent around the small kindling tipi. The thinnest and driest pieces from your firewood supply are ideal for this. Thick logs and branches come into the fire later when the campfire is burning hot and strong.
Instead of a teepee tent, you can also build a square pyramid with firewood. To do this, place two parallel branches or logs to the left and right of the kindling tipi. Place the next two pieces of firewood on this at right angles. With each new layer, the pieces get a little smaller and closer together. The advantage of this technique: the campfire gets a lot of oxygen from all sides through the gaps between the pieces of wood.
4. Light the Campfire
Now light the tinder with a match or lighter. Because the flame spreads upwards, ignite the tinder as low as possible and preferably directly in several places.
When some tinder has burned and the small flame has grown larger, blow gently and steadily into the tinder. And as far down as possible, in the fresh embers. This will give the fire oxygen and increase its intensity so it can light the kindling.
The kindling burns easily, and after a while passes the ever-growing flame onto the firewood. If the firewood is a little damp, simply gently push more kindling into the middle of the fire until the firewood also catches fire.
5. Get the Campfire
The fire is burning, and the cozy campfire evening can begin. Every now and then, a piece of firewood has to be added to keep the fire alive.
- Tips: At some point, the firewood tipi will collapse. Many sparks can fly at this moment.
When adding more wood, it is best to approach the fire with the direction of the wind and carefully place the wood on top. This avoids flying sparks. If the campfire is burning very hot, you can also position the new piece of firewood with a pole or branch. The amount of wood you add determines how hot and bright the fire burns.
- Tips: A fire that is twice as bright uses 4x as much firewood.
Unevenly burning pieces of wood should be pushed together in the middle of the campfire from time to time to keep the fire burning evenly. By gently poking the fire with a hook or branch, you can stir up the embers and rearrange nearly burned down wood. This simple act boosts the campfire’s intensity without adding more firewood, keeping the flames lively and warm.
- Tips: Clothing made of cotton is more fireproof and significantly more resistant to flying sparks than clothing made of synthetic fibers.
The Flemings dance lively and wild, while the embers glow softly. We enjoy every evening around the campfire, grilling bread on sticks and singing campfire songs together.
6. Extinguish the Campfire
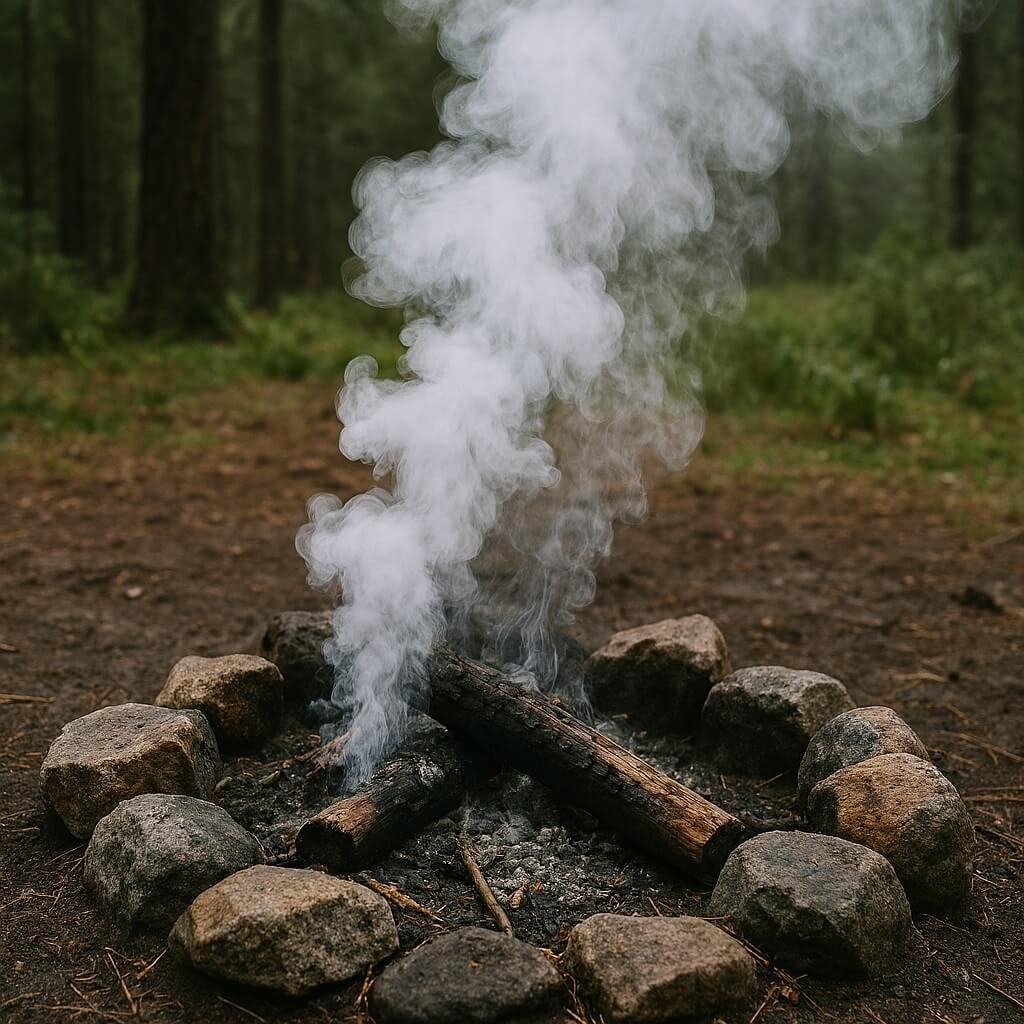
The stars are up, the fire has burned down: time to go to sleep. Before doing so, however, you should definitely put out the fire professionally!
Extinguishing techniques
- Delete wood residues individually: Unburnt or still smoldering logs are pulled out of the fire and individually extinguished with water.
- Pour water slowly: Then slowly pour water from a bucket or watering can onto the embers and coals of the campfire. The fireplace should not be completely flooded so that it can still be used by others.
- Stirred, not shaken: Stir the coals with a spade or stick as the water is poured over them to reach hidden hot spots. Until there is no more steam and no more hissing noises.
- Test by hand: To be on the safe side, hold your hand over the coals again. A little residual heat is okay. If heat radiation is still felt, pour more water on the coals.
Other extinguishing materials
You can also put out the embers by completely covering them with soil. The soil must not contain any leaves or grass, because even green plant material can eventually catch fire because of the long heat.
- Tips: Putting out a fire by peeing on it works outdoors. It’s a solid idea for safety.
Clean up the fireplace
Even we find original nature more beautiful than coal. Therefore, clean up the fireplace shortly after extinguishing the fire. The following campers will thank you.
- Homemade fire pit: You can simply cover a homemade fire pit with some soil that you cut out when creating the fire pit.
- Designated campfire site: Most of the time, the operator of the site takes care of cleaning the fireplace. If not, use a shovel to shovel the coarsest ash residue into the bin provided. You can take leftover firewood with you or simply leave it for the next fire master.
Conclusion
We hope this has given you the knowledge and confidence to have a successful campfire experience. And most importantly, you’re now well-known on How to Light and Extinguish a Campfire to ensure your own safety. The golden rule is when in doubt, put out the fire!
Related Questions
Can I Make a Campfire on Snow?
Yes, you can make a campfire on snow, but it requires extra preparation to ensure safety and efficiency. Snow is naturally insulating, which can make it difficult for flames to catch. To build a successful snow campfire:
- Create a Dry Base: Lay down a thick layer of dry branches, sticks, or a flat board to insulate the fire from the snow. This prevents heat loss and keeps the fire burning steadily.
- Stack Proper Firewood: Use dry, seasoned wood for your main fire. Wet or frozen wood can be difficult to ignite. Small kindling and tinder are essential to start the fire.
- Wind Protection: Build a small windbreak using snow walls, logs, or rocks to shield the fire from cold winds.
- Safety First: Always keep a bucket of water or sand nearby. Even on snow, sparks can ignite nearby dry materials.
- Efficient Ignition: Use natural fire starters, waxed tinder, or a chimney starter to get the fire going quickly.
What is the Best Tinder for Camping?
The best tinder for camping is dry, lightweight material that ignites easily and helps start a fire quickly. Choosing the right tinder is crucial for beginners and experienced campers alike. Combine with kindling and firewood for a strong, lasting campfire.
Is It Okay to Leave a Campfire Burning When I’m Done?
Absolutely not. Leaving a campfire burning when you’re done is unsafe and irresponsible. Unattended fires can quickly escalate, posing threats to the environment, wildlife, and other campers. It’s essential to fully extinguish the fire before leaving the site.
Can I Use Gasoline or Other Accelerants to Start a Fire?
No, using gasoline or accelerants to start a fire is highly dangerous. They can cause uncontrollable flames, posing serious risks to themselves and others. Stick to safe fire starters to ensure a controlled and safe campfire experience.
How Long Does It Take for a Campfire to Cool Completely?
The time it takes for a campfire to cool completely can vary, but it’s crucial to be patient. After extinguishing with water, stirring the ashes, and repeating, wait until there’s no heat when you touch the ashes. This process may take some time, potentially a couple of hours.