How to Clean Hiking Boots Properly (Step-by-Step Guide)

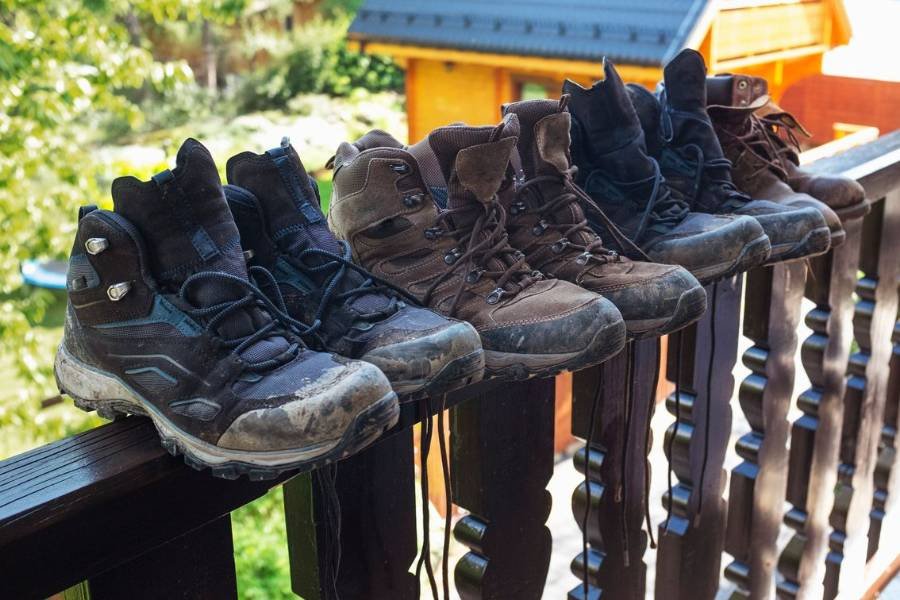
Hiking boots are built to handle mud, rocks, water, and rugged trails, but every adventure leaves behind dirt, grit, and moisture that can shorten their lifespan if left untreated. Learning how to clean hiking boots properly helps preserve their waterproof protection, breathability, traction, and overall comfort while preventing premature wear.
After years of hiking in muddy forests, dusty mountain trails, and wet conditions, I’ve found that regular boot maintenance takes only 20–30 minutes but can add years to the life of a quality pair of boots. In most cases, all you need is a soft brush, clean water, mild soap, and the correct waterproofing treatment for your boot material.
In this step-by-step guide, you’ll learn how to clean leather, nubuck, suede, Gore-Tex®, and synthetic hiking boots without damaging the materials. I’ll also explain how to remove stubborn mud, eliminate odors, dry boots safely, restore water repellency, and avoid common cleaning mistakes that can ruin expensive hiking footwear.
My Experience Cleaning Hiking Boots
Over the years, I’ve cleaned hiking boots after everything from dusty summer hikes to muddy spring trails and snowy winter treks. I’ve maintained full-grain leather backpacking boots, lightweight synthetic hiking shoes, and waterproof Gore-Tex® models.
One lesson I’ve learned is that most boots don’t fail because they’re worn out—they fail because dirt, moisture, and improper drying slowly damage the materials. A simple cleaning routine after each trip has helped many of my boots stay comfortable, waterproof, and trail-ready for several seasons.
Cleaning Methods by Hiking Boot Material
Not all hiking boots should be cleaned the same way. Leather, nubuck, suede, synthetic fabrics, and waterproof membranes each require slightly different care to maintain their durability and water resistance. Use the table below to choose the right cleaning and waterproofing method for your boots.
| Boot Material | Best Cleaner | Waterproof Treatment | Avoid |
| Full-Grain Leather | Soft brush, lukewarm water, mild soap | Leather wax or conditioner | Bleach, harsh detergents, direct heat |
| Nubuck Leather | Soft brush, nubuck cleaner | Nubuck waterproof spray | Heavy waxes that flatten the finish |
| Suede | Suede brush and cleaner | Suede waterproof spray | Oils, grease, excessive water |
| Synthetic Fabric | Soft brush, mild soap, water | Fabric waterproofing spray | Strong solvents and bleach |
| Gore-Tex® Boots | Water and mild soap | DWR-compatible waterproof spray | Fabric softener, harsh cleaners, high heat |
Quick Tip: Always check your boot manufacturer’s care instructions before applying any cleaning or waterproofing product. Using the wrong treatment can reduce breathability or damage waterproof membranes.
Mastering the Art of Hiking Boot Maintenance: 10 Essential Tips
Now, let’s start on the journey of maintaining your hiking boots, ensuring your footwear is consistently prepared for the next exciting adventure.
1. Aerate, Shake
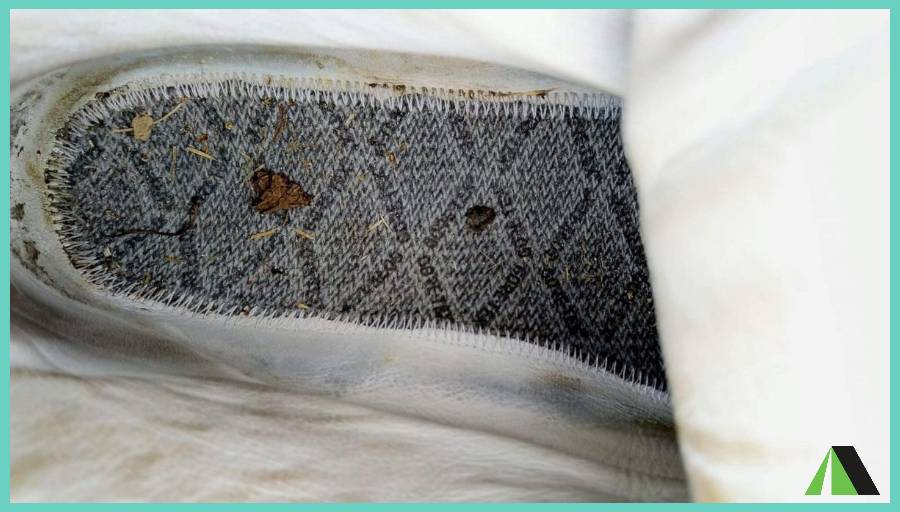
The simplest gesture that you can do for the maintenance of your hiking boots is undoubtedly to ensure that they are well-ventilated. Systematically after each outing, start by loosening the laces, opening the tongue wide, and removing the insole. Tapping the shoes against each other removes settled dust, while shaking them upside down helps eliminate small dirt particles that may have slipped inside.
2. Remove Dust with a Soft Brush
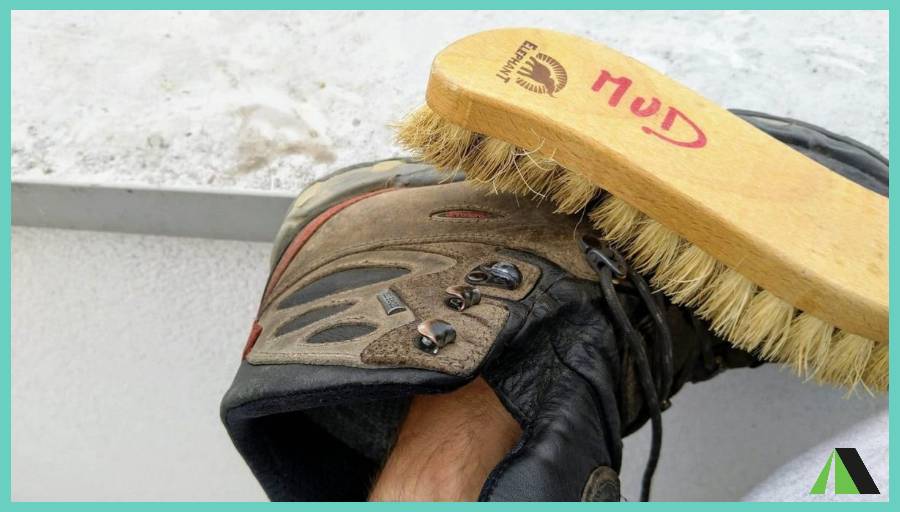
One habit that has made the biggest difference in my own boot maintenance is brushing off dirt as soon as I get home from a hike. I’ve found that fresh dirt comes off easily, while dried mud often requires much more scrubbing and can work its way into seams and stitching.
Use a soft-bristle brush to remove loose dust, sand, and dried mud from the upper, tongue, eyelets, and outsole. Pay special attention to the tread, where small stones and packed mud can reduce traction. Regular brushing also helps preserve the boot’s breathability by preventing fine dust from clogging the outer material.
3. Wash the Boots
When brushing isn’t enough, it’s time to give your boots a proper wash. After particularly muddy hikes, I try to clean my boots within 24 hours. In my experience, fresh mud rinses away much more easily, while dried mud can pull moisture from leather and gradually weaken the materials.
Using lukewarm water, a soft brush, and a small amount of mild soap, gently scrub the upper and outsole. Avoid harsh detergents or bleach, as they can damage leather, fabrics, adhesives, and waterproof membranes. If your boots have removable laces and insoles, wash them separately and rinse everything thoroughly to remove soap residue.
4. Dry Your Boots
4. Dry Your Boots Properly
I’ve seen more hiking boots damaged by improper drying than by trail conditions themselves. Placing wet boots next to a heater, radiator, fireplace, or campfire may speed up drying, but the intense heat can dry out leather, weaken adhesives, and even cause cracking.
Instead, loosen the laces, fully open the tongue, remove the insoles, and let the boots air-dry in a cool, well-ventilated area. If the inside is soaked, stuff the boots with newspaper or a clean microfiber towel and replace it every few hours until they’re dry.
How Often Should You Clean Hiking Boots?
The ideal cleaning schedule depends on how frequently you hike and the conditions you encounter. Cleaning your boots regularly helps maintain their performance and extends their lifespan.
| Hiking Conditions | Recommended Cleaning | Re-Waterproofing |
| Easy day hikes on dry trails | Brush off dust after every hike; deep clean every 1–2 months | Every 3–6 months |
| Weekly hiking | Brush after every hike; wash monthly | Every 2–3 months |
| Muddy or wet conditions | Clean as soon as possible after each hike | Check after every cleaning |
| Winter hiking (snow & road salt) | Rinse off salt after every outing | Every 1–2 months |
| Multi-day backpacking trips | Thorough clean after returning home | Inspect and reproof if water no longer beads |
Tips: A simple way to know it’s time to re-waterproof your boots is to sprinkle a few drops of water on the upper. If the water soaks into the material instead of beading up, it’s time to apply a fresh waterproof treatment.
5. Deodorize Your Boots
To avoid bad odors, you must follow our first advice and ventilate and dry your boots well. Wearing high-quality merino wool hiking socks also helps reduce moisture buildup and naturally controls odor-causing bacteria during long hikes.
If you’re looking for better moisture management, check out our guide to the best merino wool hiking socks. You can also place wooden cedar balls or boot deodorizers inside your boots during storage to help absorb moisture and keep them smelling fresh.
The previous operations are common to all types of boots. But waterproofing techniques vary depending on whether it is smooth leather, nubuck, or synthetic materials.
6. Re-Waterproof Your Hiking Boots
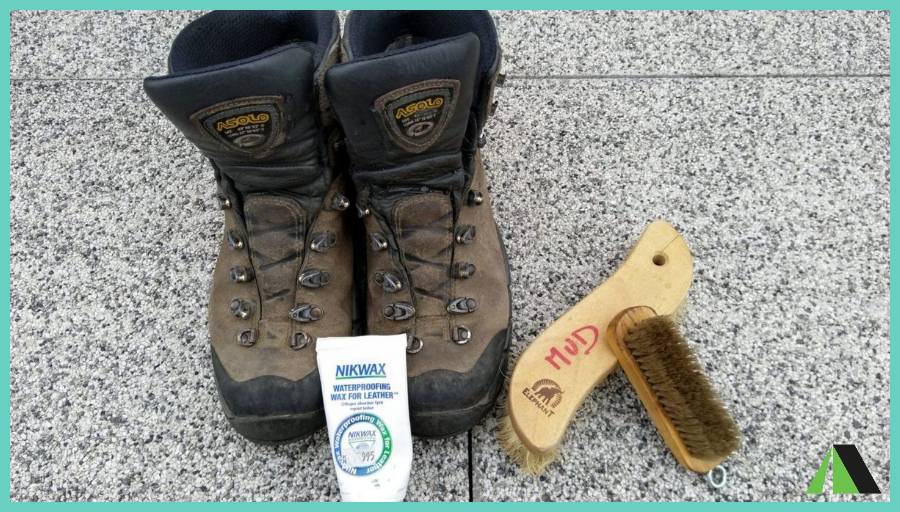
From my experience, many hikers think their waterproof boots have failed when, in reality, only the factory-applied Durable Water Repellent (DWR) finish has worn off. After cleaning, I always restore the water-repellent coating using a treatment designed for the specific boot material. This simple step helps water bead off the surface again while maintaining breathability.
For leather boots, use a quality waterproofing wax or conditioner recommended by the manufacturer. For nubuck, suede, and synthetic hiking boots, choose a spray-on treatment formulated for those materials and compatible with waterproof membranes such as Gore-Tex®.
- GORE-TEX® Footwear Care Guide – Learn the manufacturer’s recommended methods for cleaning and maintaining Gore-Tex® footwear while preserving breathability and waterproof performance.
7. Revive the Water Repellency of Nubuck
Nubuck is a leather whose surface has been scraped to give it a soft touch and a particular aesthetic. To revive its water repellency, liquid waxes are used which are applied using a spray without propellant gas such as Nikwax Nubuck/Suede spray. Apply generously to dry or damp leather, then after a few minutes wipe off the excess product to avoid stains.
Unfortunately, these treatments are a little less effective and a little more expensive than those used for smooth leather. The good news is that it is quite possible to treat nubuck like smooth leather, provided that you put an end to the “peachy skin” aspect of your shoes.
8. Re-Waterproof Your Synthetic Boots
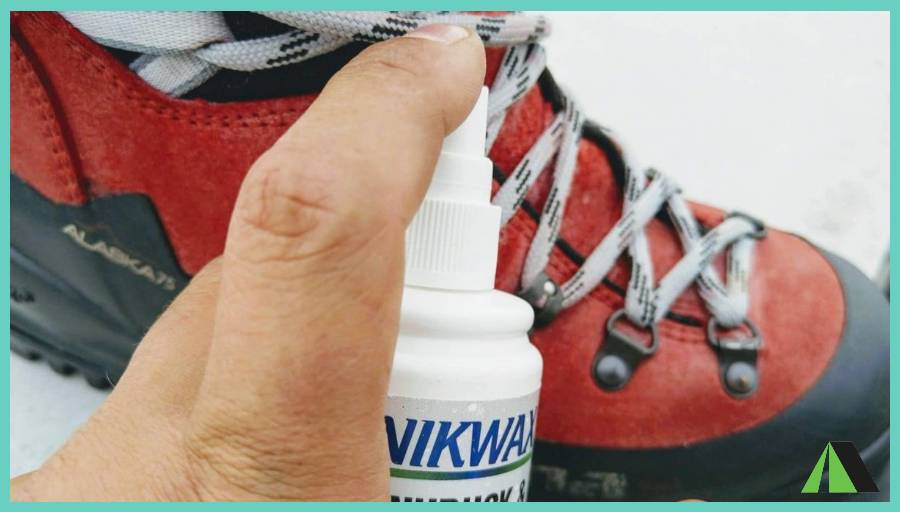
If leather is a naturally waterproof material, the same is not true of synthetic materials – unless you walk in rubber boots. It is therefore necessary to be aware that cleaning products only make it possible to revive water repellency and not to make shoes that are not waterproof.
Choose liquid products such as Nikwax fabric & leather proof or NST Proof and apply generously. As with nubuck treatment, the excess product is wiped off after a few minutes to avoid staining.
- Leave No Trace Center for Outdoor Ethics – Best practices for minimizing your environmental impact while cleaning, maintaining, and using outdoor gear.
9. Plan for Repairs
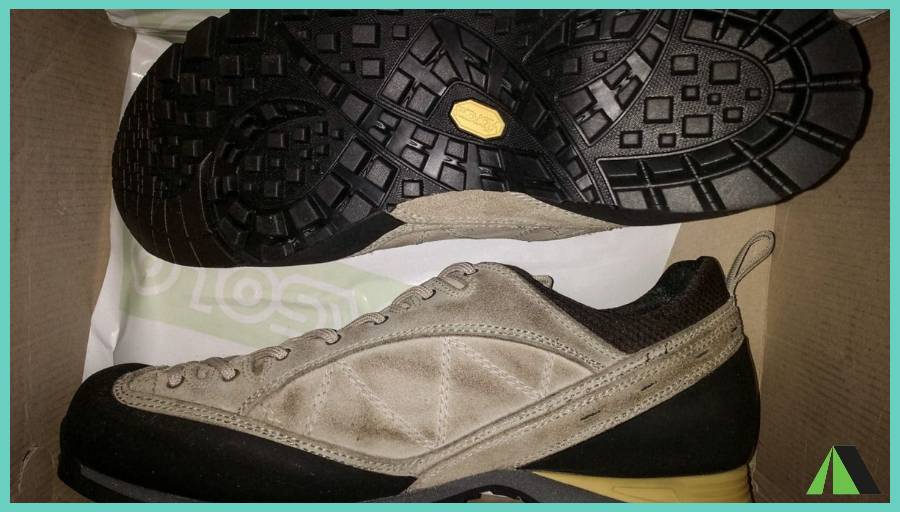
Boot maintenance is an opportunity for careful inspection. This allows you to anticipate the necessary repairs and avoid the unpleasant surprise of a sole that comes off. Check the seams, the condition of the inner and outer soles, and the laces. A repair done while the damage is low holds much better. Do not hesitate to consult a professional.
If you regularly hike through overgrown trails, rocky terrain, or areas with snakes, protecting your boots from excessive abrasion can reduce wear over time. A durable pair of snake gaiters for hiking not only adds protection against snake bites but also keeps mud, sand, gravel, and debris from entering your boots.
10. The Last Tip: Respect the Environment
Faced with the lack of information on the composition of cleaning products, it is difficult to sort out the good ones, the bad ones, and those who surf on green marketing. But a few common sense tips can eliminate the worst.
First of all, we forget the sprays with propellant gases. They are often more expensive, and the pressure tube is of more complex recyclability. Aware that everything we apply to our boots will end up in the environment, we ban products containing silicones and worse, Perfluorocarbon compounds (PFC, etc.).
Frequently Asked Questions
Can I wash hiking boots in the washing machine?
No. Washing machines can weaken adhesives, damage waterproof membranes, and cause leather or synthetic materials to lose their shape. Cleaning your boots by hand with a soft brush, lukewarm water, and mild soap is the safest method.
Is dish soap safe for cleaning hiking boots?
A small amount of mild, fragrance-free dish soap is generally safe for occasional cleaning. Avoid strong degreasers, bleach, or detergents containing fabric softeners, as they can strip protective coatings and reduce waterproof performance.
How long does it take hiking boots to dry?
Depending on the boot material and indoor humidity, most hiking boots take 24 to 48 hours to air-dry completely. Thick leather backpacking boots require even longer. Always make sure the inside is fully dry before storing or wearing them again.
Can vinegar remove odors from hiking boots?
Although vinegar can help reduce odor-causing bacteria when diluted with water, but it shouldn’t be used frequently because repeated exposure to acid may affect certain boot materials. For regular odor control, allow boots to dry thoroughly after each hike and use removable insoles or boot deodorizers.
What should I do if my hiking boots still leak after cleaning?
If water is soaking through the boot instead of beading on the surface, first restore the Durable Water Repellent (DWR) finish with an appropriate waterproofing treatment. If leakage continues after reproofing, inspect the boot for worn seams, cracked leather, damaged membranes, or sole separation that require professional repair.
How should I store hiking boots between hiking trips?
Store clean, completely dry boots in a cool, dry, and well-ventilated location away from direct sunlight. Avoid keeping them in damp garages, sealed plastic containers, or the trunk of your vehicle for extended periods, as trapped moisture can encourage mold and unpleasant odors.
When should I replace my hiking boots instead of repairing them?
Replace your hiking boots if the midsoles are crumbling, the outsole can no longer be securely resoled, or the upper has severe structural damage. Minor issues such as worn laces, loose stitching, or detached soles can often be repaired, extending the life of an otherwise dependable pair.
Conclusion
As we conclude this guide on cleaning hiking boots, remember that a well-maintained pair of boots not only looks good but also functions optimally. By following these practices into your routine, you can enhance the lifespan of your boots and improve their overall performance on the trail.
Did you like this article? Share it with your friends.