How to Treat Foot Blisters While Hiking: Prevention & Expert Care Tips
Medical Disclaimer: This article is for educational purposes only and is not a substitute for professional medical advice. Consult a healthcare professional if you have diabetes, circulation issues, signs of infection, or persistent foot pain.
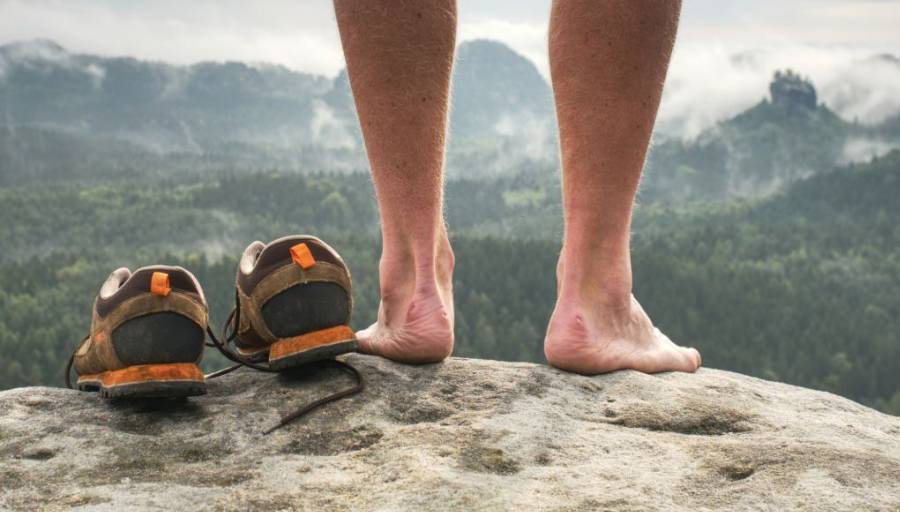
Hikers often dread the prospect of their journey being abruptly halted by the unwelcome appearance of a blister on their foot. Despite its seemingly small size, this affliction can cause significant discomfort with every step. At times, the pain can become so intense that one may be forced to abandon a long trail. Therefore, it’s crucial to understand the nature of blisters and how to prevent them effectively.
Additionally, knowing simple solutions for compassionate treatment is essential when these nuisances arise. Ready to learn How to Treat Foot Blisters While Hiking? Follow along as we uncover key insights and practical tips to handle them with care!
“Trail Experience: During multi-day hikes, foot blisters are one of the most common issues hikers faces. Over the years, we’ve tested various blister prevention methods, including moisture-wicking socks, hydrocolloid dressings, and proper boot fitting techniques on both day hikes and extended backpacking trips.”
Formation of the Blister While Hiking
In the land of hiking, friction emerges prominently around the feet, making it a focal point for potential blister formation during your treks. This friction can arise from the constant rubbing of your socks or the insoles of your shoes against the delicate skin of your feet.
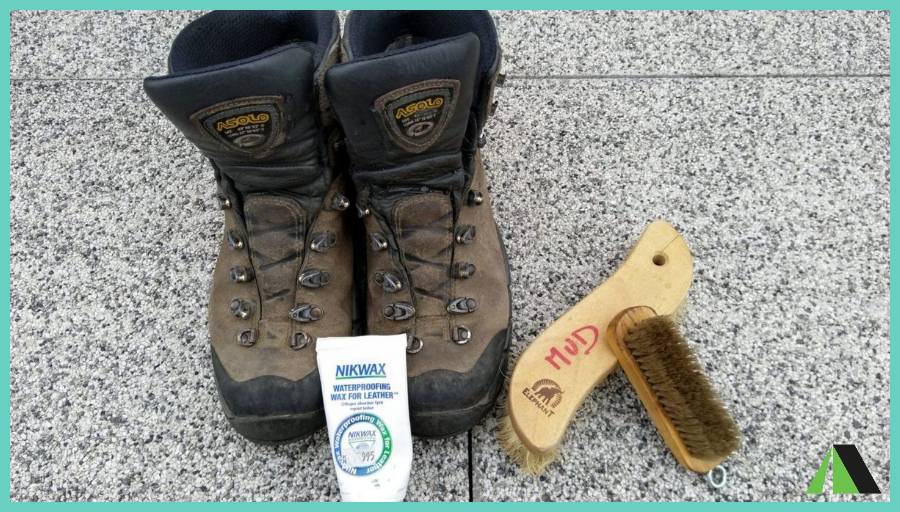
A new pair of shoes and socks that are too loose or your feet floating too much in your shoes are all factors in the development of foot blisters. Investing in properly fitted hiking boots can significantly reduce friction and improve comfort on the trail.
Areas of the Foot Where Blisters Are Arises
Numerous parts of the foot require careful attention, particularly in the context of long-distance hiking. Many individuals experience blister development just before the base of the big toe due to the considerable pressure exerted in that area during walking.
The entire curve of the foot is susceptible to blister formation, especially if the footwear lacks proper support or allows for excessive movement. Hikers dealing with foot pain conditions may benefit from specialized hiking boots for plantar fasciitis, which offer additional arch support and stability.
Additionally, the underside of the heel can become problematic, especially for those who maintain a very upright posture while walking. Another potential area for issues is the back of the heel, particularly when wearing low shoes that are not well-suited for extended hikes.
How to Prevent Blisters When Hiking
To know in detail the techniques for preventing the appearance of blisters on the foot, I refer you to the dedicated article. However, we will briefly see here some tips to drastically reduce their potential appearance. Here are some basic tips that are easy to put into practice:
- Give your feet time to adapt to your new shoes: allow your feet adequate time to adjust to new shoes. In practical terms, avoid embarking on a 5-day trek immediately after purchasing a new pair of shoes. Gradually break them in by starting with shorter walks.
- Go up a size: When buying a new pair of shoes, go one size up from your actual size. While your foot swells when you walk, it promotes friction and therefore the appearance of blisters.
- Bandage any areas of the foot at risk: hiking bandages protect the curve of the foot, the heel, or the beginning of the big toe. When in place, they act as a “buffer zone” between your sensitive area and the shoe and greatly reduce friction.
- The application of a preventive ointment: certain ointments, such as the famous Band-Aid, intend to reduce the probability of the appearance of blisters on the foot. Before going for a hike, don’t hesitate to ask your doctor for advice who will be able to guide you!
“Breaking in the best hiking boots for long-distance hiking before a major trek can greatly reduce pressure points and hot spots.”
Tips on How to Treat Foot Blisters While Hiking
Depending on the type of blister you have on your foot and its size, there are different effective treatment methods. We will see the care to be taken with small closed blisters, large closed blisters, and open blisters.
Treating a Small Closed Blister
The small blister on the foot, which has remained closed, is the one that most often develops after a day’s walk. It is painful but does not prevent walking either. To treat it, you don’t have to slap it yourself because it poses no particular risk.
On the other hand, you must apply a special bandage on it to limit friction if you wish to continue walking. Finally, if you already have a pair of shoes better suited to your feet, then do not hesitate to change them!
Care for a Large Closed Blister
The large closed blister is several centimeters in diameter and can sometimes be very painful when walking. Often the epidermis is very detached and the serous fluid that makes up the blister can be abundant. In this case, care will need to vary from small blisters.
First, you must pierce it in one or two places with a needle sterilized by fire or 70° alcohol. Come and exert light pressure on the top of the blister to help the serous fluid to come out.
Above all, take great care not to remove the peeling skin because it serves as the last defense against bacteria. Without it, the bulb could become infected and it would then become dangerous. When the blister is rid of the serous fluid, come and disinfect the bulb with an antiseptic product that you will find in your first aid kit!
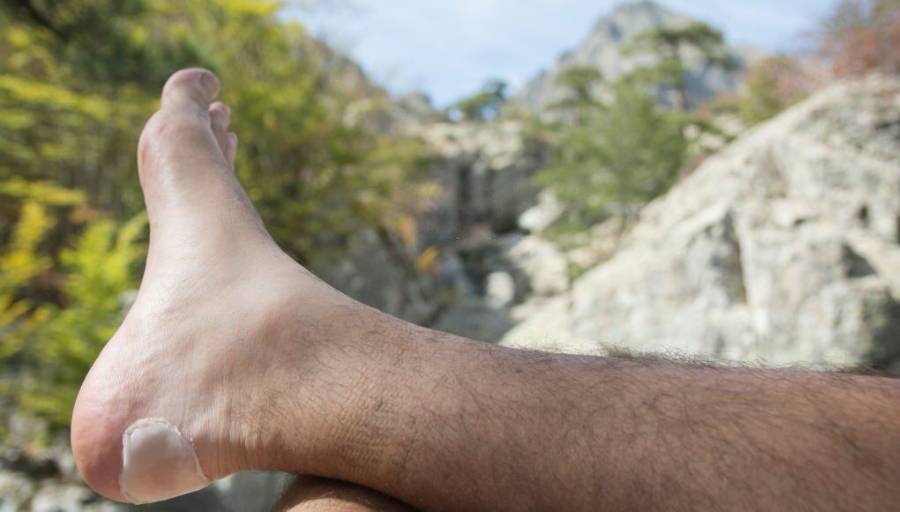
How Do You Treat a Blister on Your Foot That Has Burst?
Sometimes the blister formed by the blister pops off on its own during the hike. In this case, you should feel a sharp pain that will probably force you to stop. When the blister is “raw”, you must not remove the epidermis even if it holds badly. As with closed blisters, it comes to protect you against bacteria.
To treat this last type of blister on the foot, here are the operations to be carried out:
- Clean the blister with soap and water: this will sting but will prevent the superinfection of the blister. When the skin has pulled back, the blister has turned into an open wound and your foot becomes a risk area that you must protect. Cleaning must be done every 4 hours to kill any bacteria and other dirt that may be deposited there.
- Apply a sterile strip: apply a sterile strip to safeguard the wound after thorough cleaning. Just as with the cleaning process, it’s crucial to change this sterile strip every 4 hours. This routine ensures continued protection and promotes a hygienic environment for optimal wound healing.
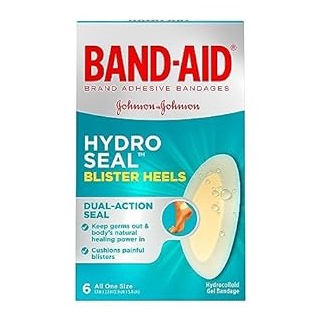
- Put on a second skin dressing the next day: on the following day, apply a second-skin dressing to alleviate the friction that led to the blister. This not only addresses the root cause but also provides a protective layer for your epidermis and facilitates safe & expedited recovery.
When Not to Hike Further
Stop Hiking and Seek Medical Attention If:
- The blister contains pus
- Red streaks appear around the wound
- You develop a fever
- The pain prevents normal walking
- You have diabetes or circulation problems
Quick Prevention Checklist
✅ Break in new hiking boots before long trips
✅ Wear moisture-wicking socks
✅ Keep feet dry
✅ Carry blister bandages
✅ Change wet socks promptly
✅ Stop and address hot spots early
FAQs (Frequently Asked Questions)
Why do I get blisters when hiking?
When hiking or traveling with a backpack, the most common way to get a blister is the prolonged friction of the sock or shoe against the skin of the foot. The shoe may be too loose or too tight, and it’s likely that sweaty or wet feet are the main cause of blisters on a hike.
Should the blisters be popped?
If you had the chance to go on adventures as a child, you may have learned not to touch your blisters in order to avoid infection. This is in principle true, but the benefits may outweigh the possible risks. If you’re out in the wilderness and aren’t willing to give up on your trip, the only solution may be to thoroughly clean your bulb to set off again.
How long does it take for blisters to heal?
Most blisters heal naturally in three to seven days and do not require medical attention. It is important to avoid popping the blister as this could lead to infection or slow the healing process. If the blister bursts, do not peel off the dead skin.
How to prevent foot blisters when hiking?
A few minutes of preparation at home can make you feel good over very long distances. Before leaving the house.
- Buy shoes that really fit you. Not the first discounted pair you see at your favorite outdoor store that you won’t try on before you go.
- If you wear leather shoes, try them on before you go hiking. Wear them around the house, to the grocery store, or when you take your dog out in the morning. Then, wear them on short hikes before putting them to the test during bivouacs with a heavy pack. Use tape for rough seams to reduce friction against your foot.
- Choose your hiking socks for hot weather or trail conditions wisely. Never wear cotton.It locks in moisture on contact with your skin, speeding up the blistering process. As with your shoes, choose socks that fit well, without wrinkles or annoying seams. Then find what works best for you in terms of thickness and try wearing a thin, sweat-wicking synthetic sock under a thicker wool layer. You can also try socks that protect against blisters.
- Buy supportive insoles to prevent your foot from slipping inside your shoe.
- Trim your toenails to avoid pressure on the front of your shoes.
- Put a band-aid on your feet as a preventive measure if you’ve done all of the above and are still suffering from burns just a few miles into a big trip.
During the trip:
- Keep your feet dry.
- Bring extra socks to change into mid-day.
- Then hang the pair of wet socks outside your backpack, so they’re dry and ready to wear in the evening.
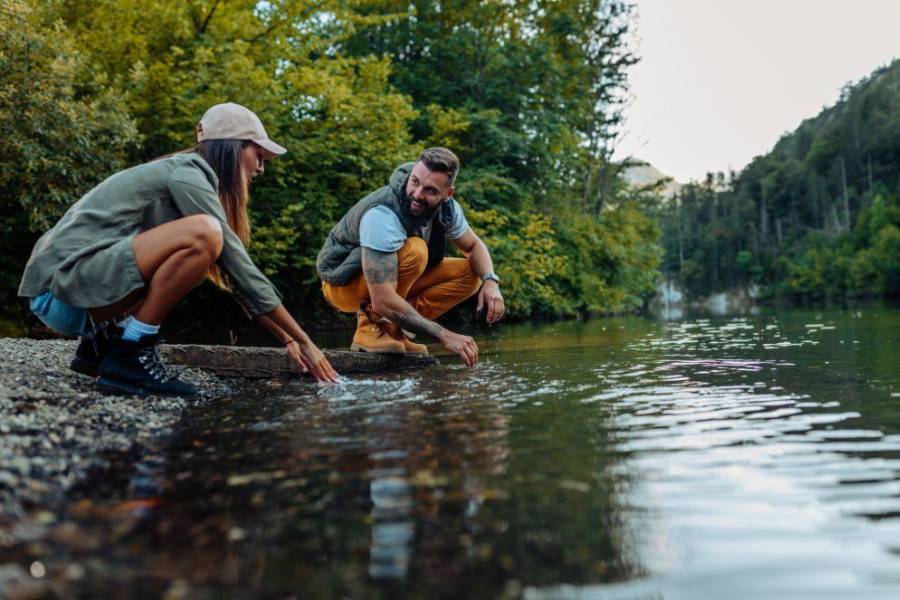
- Rinse your feet as much as possible. Not only do dirty feet cause blisters more quickly, but they also increase the likelihood of infection. Even better, dipping your tired, sore feet into the river water is a great habit. Just be sure to let them dry completely before putting them back in your shoes.
When is it necessary to seek professional medical help for foot blisters?
Consult a healthcare professional if the blister is infected, shows signs of inflammation, or if you have underlying health conditions that may complicate healing.
Conclusion
Whether beginner or experienced, the foot blister is certainly one of the worst enemies of the hiker. It is the consequence of repeated friction between an “at risk” area of your foot and the shoe, most of the time. The blister then usually forms towards the heel, the arch of the foot, and near the big toe. As discussed earlier, we can prevent their appearance by putting on suitable hiking shoes, specific socks, or even by applying a bandage to the sensitive areas of the foot.
Both closed and open, the blisters must be cleaned with soap or disinfectant and then protected with a sterile strip or second skin dressings. In all cases, they should be monitored as soon as they appear. And if you can, take steps to prevent them from becoming infected.
“If you’re preparing for a multi-day backpacking adventure, don’t forget essential electronics and a reliable power bank for multi-day hikes to keep navigation devices and emergency communication tools charged.”
Ready to hit the road with your feet in great shape?