How to Layer for Skiing Like a Pro (No More Frozen Toes!)
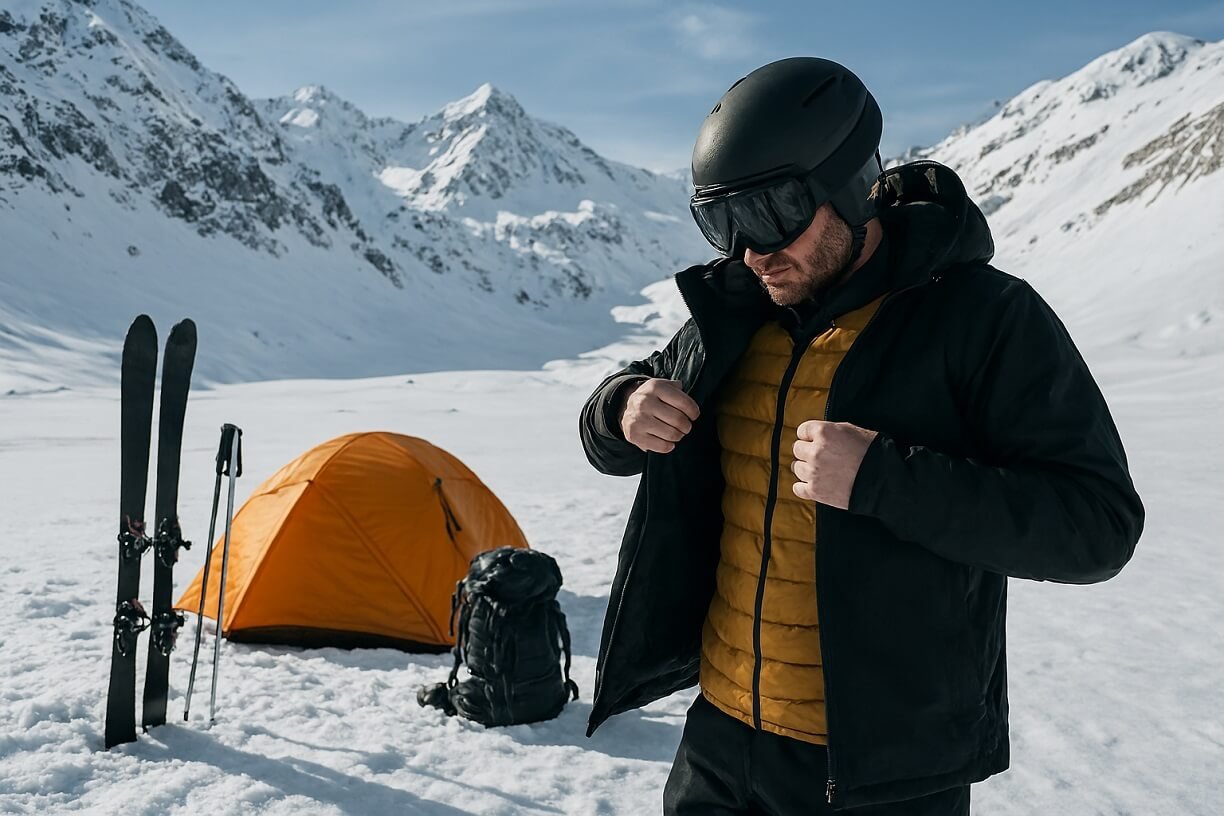
If you’ve ever found yourself shivering on a ski lift or sweating through your base layer halfway down a run, you already know: layering for skiing is an art and a science. In this guide, we’ll show you how to layer for skiing like a pro — so you stay warm, dry, and comfortable no matter what the mountain throws at you.
Whether you’re a first-timer or an experienced shredder, mastering the ski layering system is the key to unlocking performance, protection, and pure joy on the slopes. And yes — we’re here to make sure you never suffer from frozen toes again.
🧣 The 3-Layer System: Your Ski Armor
Let’s break it down like a pro. The ski layering system consists of three essential layers:
1. Base Layer (Next-to-Skin)
Your base layer is the foundation of your entire ski layering system. It’s the layer that sits directly against your skin, and its primary job is to manage moisture — not just keep you warm. When you start skiing or moving around, your body produces heat and sweat. A good base layer pulls that moisture away from your skin and pushes it outward and helps you stay dry and comfortable instead of cold and clammy.
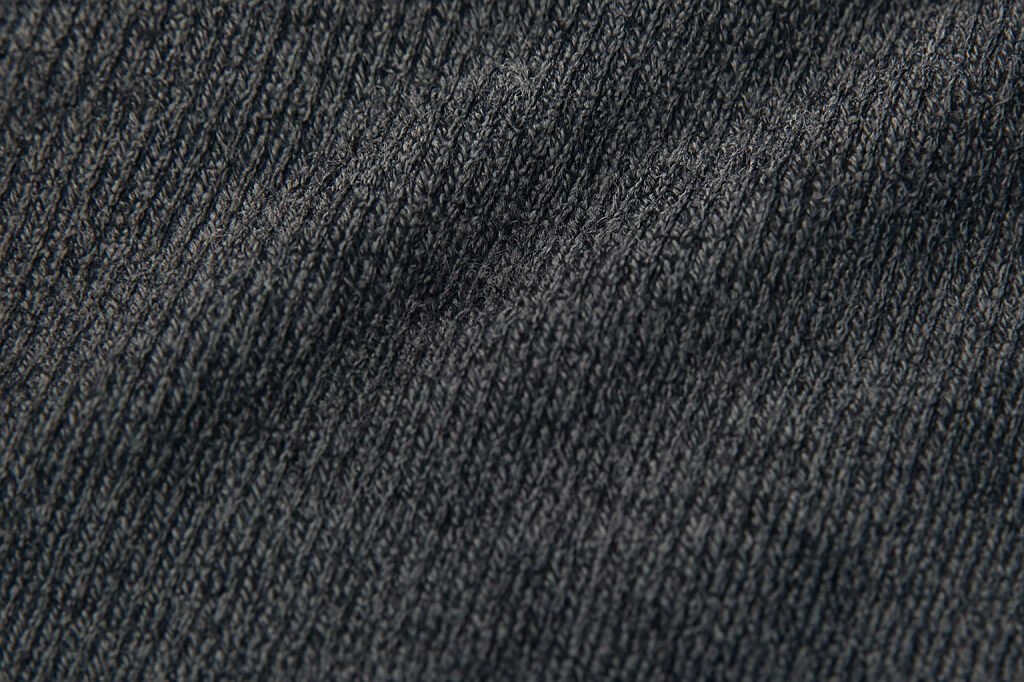
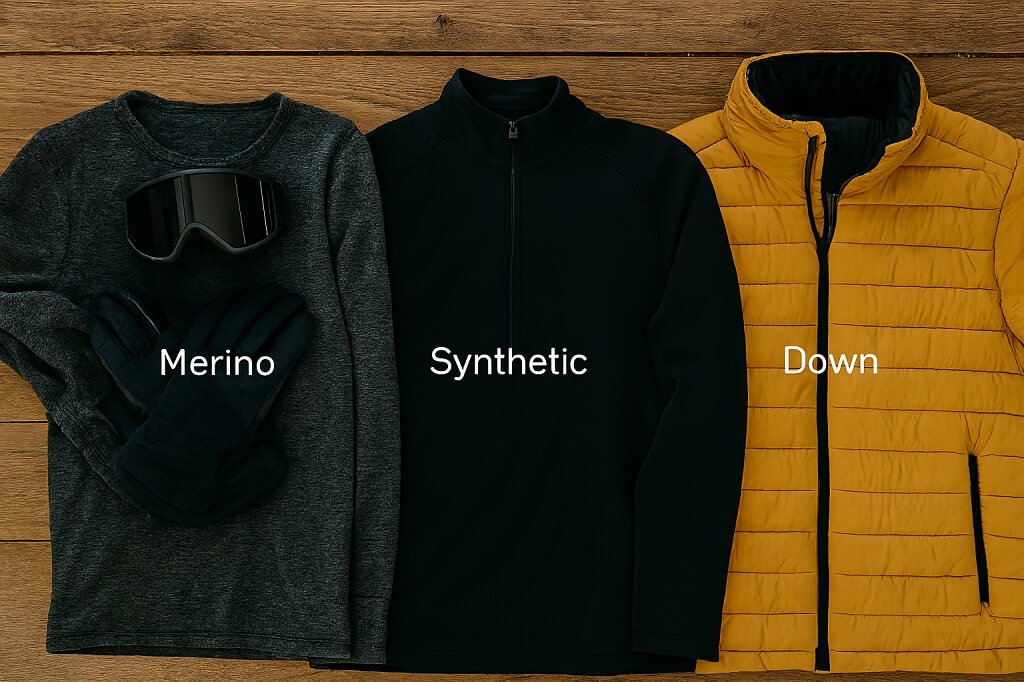
- Material: Look for merino wool or high-quality synthetic fabrics like polyester or nylon blends. Merino wool is a favorite among skiers because it’s soft, naturally odor-resistant, and still keeps you warm even when damp. Synthetic materials, on the other hand, are more affordable, dry faster, and handle repeated washes well. Avoid cotton at all costs — it traps moisture and stays wet, which quickly leads to chills once you stop moving or take a break.
- Fit: Your base layer should fit snugly against your skin, almost like a second skin, but without cutting off circulation or feeling tight. A proper fit ensures sweat can be efficiently wicked away while maintaining a full range of motion. Loose or baggy layers can trap moisture and reduce warmth, while too-tight ones can restrict movement.
- Function: Think of your base layer as your climate control system. It helps regulate your body temperature by keeping your skin dry in both cold and warm conditions. On bitterly cold days, it keeps the chill off; on milder days, it prevents overheating. Whether you’re carving down the slopes or sitting on a ski lift, this layer is working constantly to balance your comfort.
Pro Tip: If you often ski in changing weather, pack both a lightweight and midweight base layer. Lightweight versions are great for sunny or spring skiing, while midweight options add insulation for colder conditions.
2. Mid Layer (Insulation)
The mid layer is your main source of warmth. It’s designed to trap body heat while allowing excess moisture to escape through to the outer layers. Think of it as the cozy middle zone that balances insulation and breathability. The right mid layer keeps your core temperature steady, even when the wind picks up or the temperature drops on the mountain.
- Material: Common choices include fleece, down, or synthetic insulation. Fleece is lightweight, breathable, and dries quickly, making it ideal for active skiers. It works well in moderate conditions where you want warmth without bulk. Down provides an unbeatable warmth-to-weight ratio. It’s incredibly insulating for its weight but can lose effectiveness when wet, so it’s best for dry, cold days. Synthetic insulation (like PrimaLoft or Thinsulate) offers reliable warmth even when damp. It’s a great all-weather option that performs consistently in changing mountain conditions.
- Fit: Your mid layer should fit comfortably over your base layer without feeling tight or restrictive. You should be able to move freely — bend, twist, or reach — without resistance. Avoid overly bulky pieces that make layering awkward or restrict arm movement. Ideally, the layer should feel warm yet breathable, allowing air circulation as your activity level changes.
- Function: The main job of this layer is to retain body heat while letting sweat escape. As your base layer wicks moisture away, your mid layer captures the warmth generated by your body. This balance keeps you warm, dry, and comfortable, whether you’re carving downhill or sitting still on a lift.
Pro Tip: If you tend to overheat easily, try a zip-up fleece or hybrid jacket with venting options. You can open it to release heat during intense activity and zip it up tight when temperatures drop.
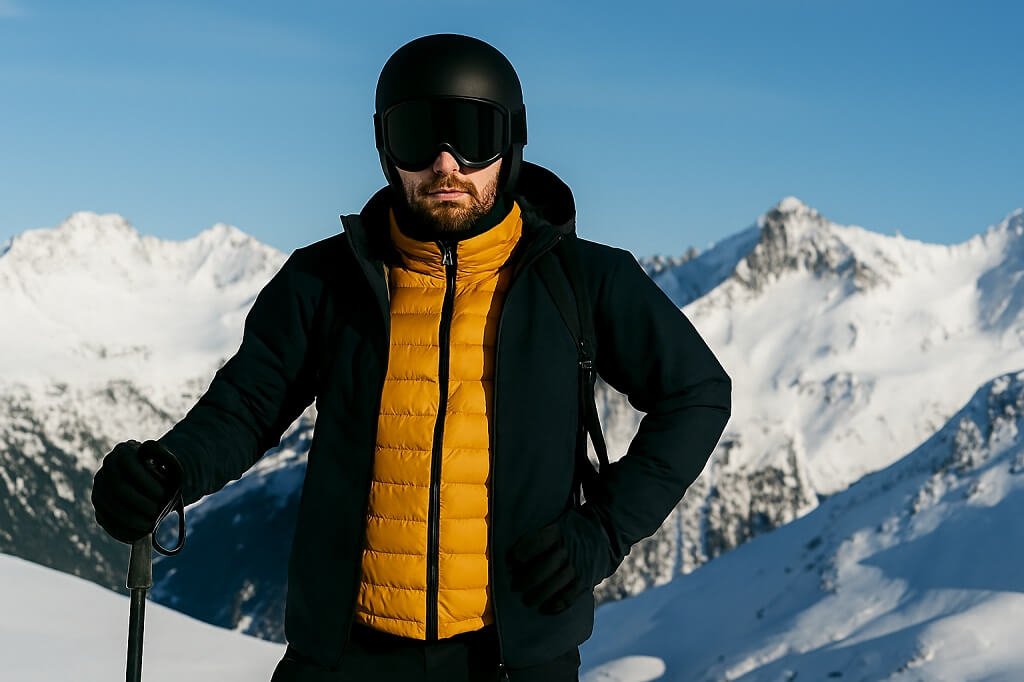
3. Outer Layer (Shell)
The outer layer — also known as your shell — is your first line of defense against the elements. It shields you from wind, snow, sleet, and moisture. Although it doesn’t usually provide much insulation on its own, it plays a crucial role in keeping your layering system effective. Without a good shell, even the best base and mid layers can’t perform at their best.
- Material: Look for waterproof and breathable fabrics such as Gore-Tex, eVent, or Dermizax. These high-performance materials block external moisture like snow and rain while allowing sweat vapor to escape. This balance prevents that cold, clammy feeling after hours on the slopes. Some shells are fully waterproof, while others are water-resistant — the right choice depends on how wet or windy your local ski conditions usually are. For extra protection, check features like sealed seams, storm flaps, and waterproof zippers. If you ski in heavy snow or unpredictable weather, a 3-layer Gore-Tex shell provides exceptional durability and weatherproofing.
- Fit: Your shell should fit roomy enough to comfortably layer over your base and mid layers, but not so loose that it feels bulky or catches wind. You should have a full range of motion — especially around the shoulders and arms — for active movement. Adjustable cuffs, hems, and hoods help you fine-tune the fit to lock out snow and cold air.
- Function: The outer layer’s job is simple but vital: protect you from the harsh weather while allowing moisture to escape. It acts like a shield to prevent wind and snow from penetrating your clothing system, while its breathable construction lets sweat move outward so you don’t overheat.
Pro Tip: If you ski in varying weather, choose a shell with underarm vents (pit zips) or breathable panels. They give you quick temperature control without needing to remove layers.
🧤 Bonus Layers: Accessories That Matter
Accessories might seem secondary, but they often make the biggest difference in comfort on the slopes. Cold fingers, damp socks, or an exposed neck can ruin an otherwise perfect ski day. Here’s how to layer and choose the right accessories to keep every part of your body protected and comfortable.
Socks
Your feet are in constant contact with snow, so the right socks are non-negotiable. Go for ski-specific socks made from merino wool or synthetic blends. These materials wick moisture, regulate temperature, and prevent that soggy feeling that cotton causes.
Avoid cotton socks, double layering, or anything that bunches inside your boots. All of these can cause blisters or restrict circulation, making your toes colder instead of warmer.
Pro Tip: Don’t tuck your base layer bottoms into your socks — it can cause uncomfortable pressure points in your ski boots.
Gloves & Mittens
Cold hands can end your ski session early, so choose wisely. Insulated gloves work great for most skiers, while mittens offer more warmth by keeping your fingers together. If you often struggle with cold fingers, use thin glove liners underneath your main gloves for an extra layer of warmth without losing dexterity.
Look for gloves with waterproof membranes (like Gore-Tex) and breathable materials to keep your hands dry inside and out. Adjustable cuffs and wrist straps also help seal out snow. Always dry your gloves completely after each day on the slopes to avoid damp insulation on your next run.
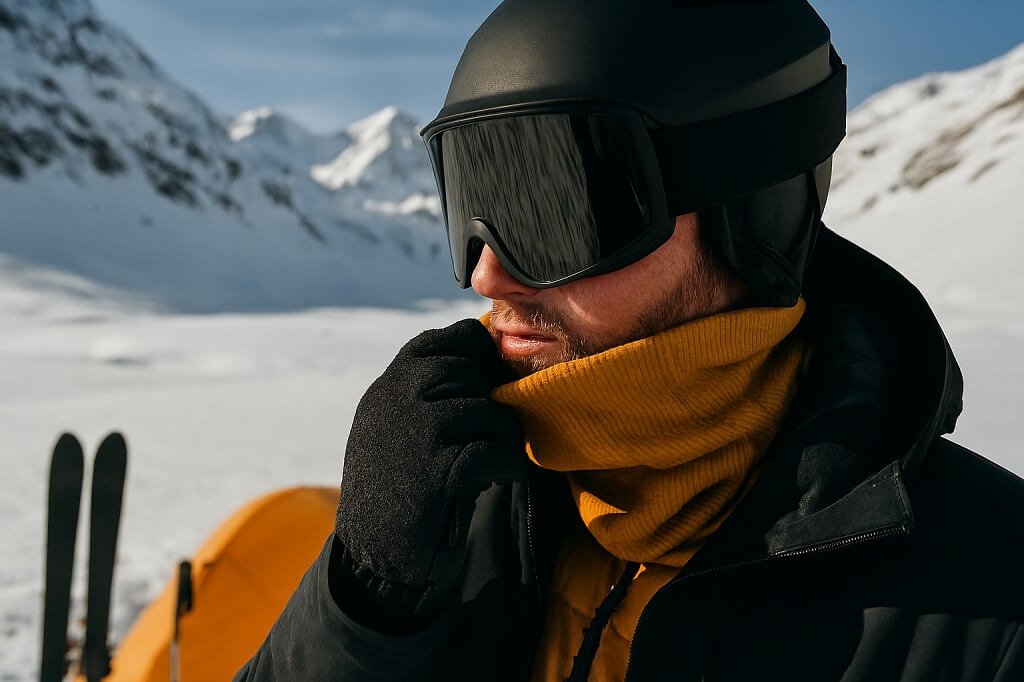
Neck Gaiters & Balaclavas
These small pieces make a big difference in keeping you warm. A neck gaiter or balaclava protects your neck, face, and ears from biting wind and snow. They help trap body heat while allowing moisture to escape, keeping you comfortable even in freezing gusts.
Choose soft, stretchy materials like fleece or merino wool for warmth and comfort. In harsh weather, a windproof balaclava can cover your nose and cheeks while fitting easily under your helmet.
Helmets & Hats
Your head loses heat faster than any other part of your body, so proper coverage is key. Always wear a ski helmet — it not only keeps you safe but also retains warmth when paired with built-in insulation or a helmet liner.
Pro Tip: Don’t wear bulky hats or thick beanies under your helmet. They can compromise the helmet’s fit and safety. Instead, opt for a thin, insulated liner or skull cap designed specifically for helmets. It keeps you warm without interfering with ventilation or comfort.
🏂 Layering for Different Conditions
Sunny Spring Skiing
- Lightweight base layer
- Thin fleece mid layer
- Softshell outer layer
Deep Powder Days
- Heavyweight base layer
- Down or synthetic puffy mid layer
- Waterproof hard shell
Windy Chairlift Rides
- Add windproof neck gaiter
- Use insulated gloves with liners
- Consider heated socks or boot warmers
🧠 Pro Tips for Layering Like a Ski Legend
- Test your layers before hitting the slopes — don’t wait until you’re halfway up the mountain
- Pack extras: Always bring a backup mid layer and dry socks
- Ventilation matters: Look for jackets with pit zips and pants with thigh vents
- Layer smarter, not thicker: More layers ≠ more warmth if they trap moisture
🧳 Packing Checklist: Ski Layering Essentials
| Item | Purpose | Pro Tip |
| Merino base top & bottom | Moisture-wicking | Pack 2 sets for multi-day trips |
| Fleece or down mid layer | Insulation | Choose zippered styles for venting |
| Waterproof shell | Protection | Look for powder skirts and helmet-compatible hoods |
| Ski socks | Foot warmth | One pair per day, plus backups |
| Glove liners & insulated gloves | Hand warmth | Use touchscreen-compatible liners |
| Neck gaiter | Wind protection | Fleece-lined for comfort |
| Helmet liner | Head warmth | Avoid bulky hats under helmet |
❄️ FAQs: How to Layer for Skiing Like a Pro
Can I wear cotton as a base layer?
Absolutely not. Cotton may feel cozy at first, but it traps moisture instead of moving it away from your skin. Once it gets wet from sweat or snow, it stays damp — leaving you cold, clammy, and uncomfortable for the rest of the day.
Should I wear two pairs of socks for extra warmth?
It might sound like a good idea, but it’s actually counterproductive. Wearing two pairs of socks creates friction, which can lead to blisters and restrict blood circulation — making your feet colder instead of warmer. Instead, invest in one high-quality pair of ski socks made from merino wool or synthetic fibers. They’re designed to provide warmth, cushioning, and breathability all at once.
What’s the best layering system for kids?
The same three-layer system works perfectly for kids: a moisture-wicking base, an insulating mid layer, and a protective outer shell. The key difference is convenience — choose pieces with easy zippers, stretch panels, and adjustable cuffs or hems so kids can manage temperature changes on their own. Comfort and mobility matter more than bulk, especially when they’re learning.
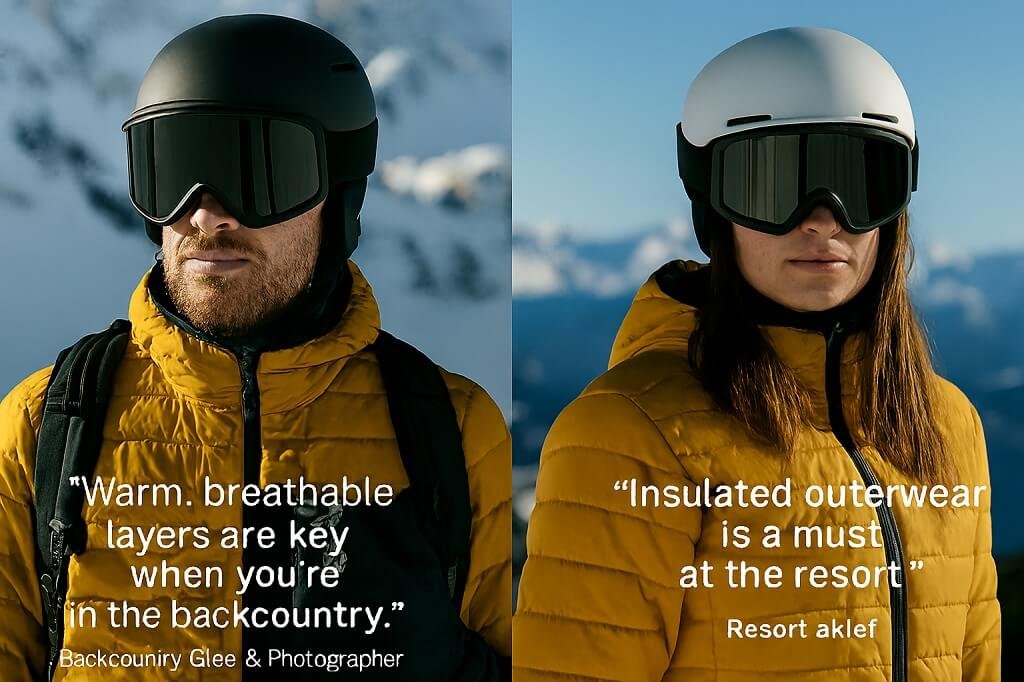
How should I layer for backcountry skiing?
Backcountry skiing demands more flexibility. You’ll be climbing uphill and generating heat, then facing cold wind or descents. Go with lightweight, breathable layers that you can easily adjust. A packable insulated jacket or vest is perfect for breaks or cold ridges. The goal is to avoid sweating on the climb and freezing on the descent — so start cool and add layers as needed.
How do I know if I’m overdressed?
A simple rule: if you feel warm or start sweating before you even start skiing, you’ve got too many layers on. You should feel slightly cool when you step outside. Once you start moving, your body will quickly warm up. It’s always easier to add a layer on the chairlift than to deal with being overheated and drenched in sweat halfway down the slope.
🧭 Advanced Layering Strategies for Skiing Like a Pro
Now that you’ve nailed the basics, let’s level up. These advanced techniques will help you adapt your layering system to different terrains, altitudes, and skiing styles.
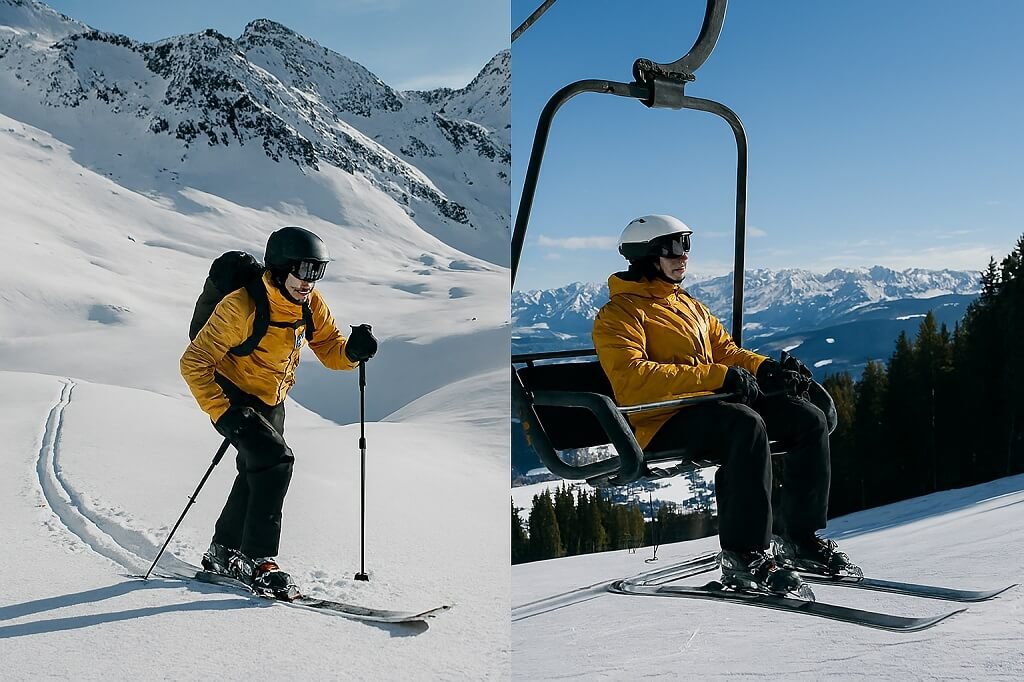
🔄 Layering for Backcountry vs Resort Skiing
| Type | Layering Strategy | Why It Works |
| Backcountry | Lightweight base, breathable mid, packable shell | You’ll sweat more on climbs — breathability is key |
| Resort | Insulated mid, windproof shell | You’ll be sitting still on lifts — warmth matters more |
🏔️ Altitude Adjustments
Higher altitudes mean colder temps and stronger winds. Add:
- A windproof mid layer
- A thicker neck gaiter
- A backup pair of gloves
🕶️ Layering for Night Skiing
- Use reflective outerwear
- Add battery-powered heated layers
- Choose darker base layers to retain heat
🧪 Material Breakdown: What the Pros Actually Wear
Let’s talk gear. Not all fabrics are created equal — and choosing the right one can make or break your ski day.
🧵 Base Layer Materials
| Material | Pros | Cons |
| Merino Wool | Warm, odor-resistant, breathable | Pricier, less durable |
| Synthetic (Polyester/Spandex) | Affordable, fast-drying | Can retain odor |
| Silk (rare) | Lightweight, smooth | Not warm enough for skiing |
🧥 Mid Layer Materials
| Material | Pros | Cons |
| Fleece | Breathable, affordable | Bulky, not windproof |
| Down | Super warm, compressible | Loses warmth when wet |
| Synthetic Insulation | Water-resistant, versatile | Slightly heavier than down |
🧊 Outer Layer Materials
| Material | Pros | Cons |
| Gore-Tex | Waterproof, breathable | Expensive |
| Softshell | Flexible, breathable | Not fully waterproof |
| Hardshell | Maximum protection | Less breathable |
🚫 Common Layering Mistakes (And How to Fix Them)
Even seasoned skiers mess this up. Here’s what to avoid:
- Cotton traps moisture, making you cold and clammy. Switch to merino wool or synthetic base layers.
- Too many layers restrict movement and trap sweat. Use breathable fabrics and test your setup before skiing.
- You’ll overheat and sweat, then freeze. Choose gear with zippers, vents, and breathable panels.
- Cold feet = miserable skiing. Invest in quality ski socks and consider boot heaters.
📣 Call to Action: Your Turn to Layer Like a Pro
Now that you know how to layer for skiing like a pro, it’s time to put it into action. Whether you’re prepping for your first ski trip or refining your gear setup for the season, this guide gives you the tools to stay warm, dry, and ready for anything.
Here’s what you can do next:
- ✅ Audit your current ski wardrobe: replace cotton, upgrade insulation, and check for breathability.
- ✅ Bookmark this guide: it’s your layering bible for every ski season.
- ✅ Share it with your ski crew: help them avoid frozen toes too.
- ✅ Pin it for later: especially if you’re planning a trip soon.
💬 Final Thought: Ski Smart, Layer Smarter
Skiing isn’t just about speed and style — it’s about preparation. And layering like a pro is your secret weapon. With the right setup, you’ll stay warm, dry, and focused on what really matters: carving fresh lines, chasing powder, and loving every second on the mountain.
So go ahead — layer up, gear up, and ski like the legend you are.