How to Recover From a Hike (5 Tips)
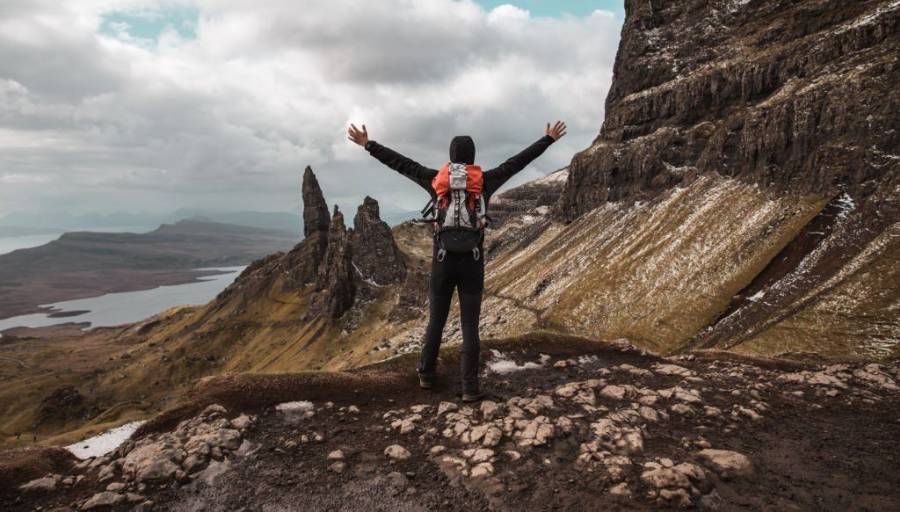
Whether it’s following a family stroll, a more strenuous hike, or an extended trek spanning several days, proper recovery becomes imperative. Understanding how to recover from a hike is essential for preventing aches, alleviating muscle tension, minimizing the sensation of heavy or swollen legs—common occurrences on the day after and the subsequent days of the hike—and restoring energy.
In this guide, our goal is to offer tips that enhance recovery and ensure a more comfortable post-hike experience. So without further delay let’s see our tips on how to recover from a hike:
Recovery Strategies After Hiking
Let’s see our 5 tips on how we can recover from a hike:
1. Good Rehydration
Everyone knows that fluid intake is essential before, during, and after hiking. But you still have to do it right. The loss of hydration during hiking can vary depending on different factors: environmental conditions such as temperatures, the duration of the walk, the elevations, or even the equipment.
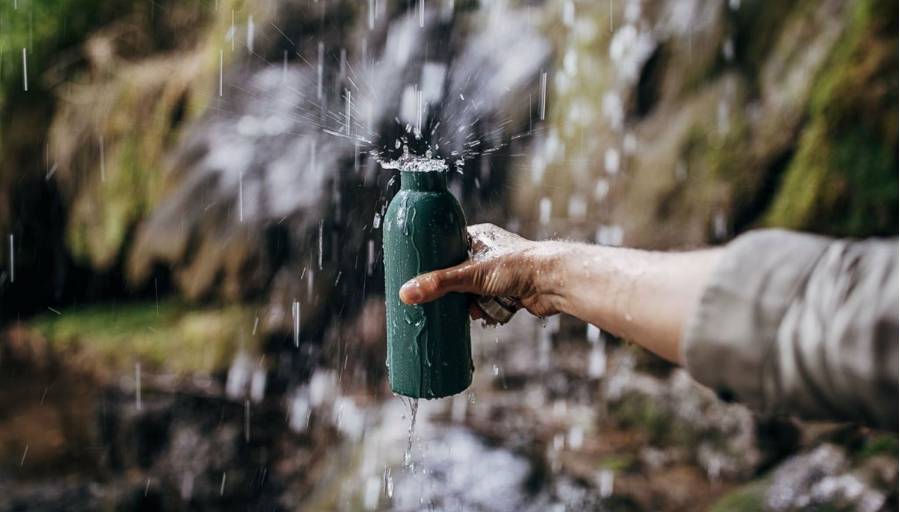
During the hike, we recommend drinking approximately every 15-20 minutes in small quantities between 100 and 200 ml. This quantity will vary according to your weight and height. The use of a “pipette” is interesting in this case. No need to take off your backpack to drink. Most hikers have adopted this way of staying hydrated.
For the first 45 minutes after the hike, you will likely feel the need to rehydrate with isotonic drinks. Between 45 minutes and 4 hours after the hike, the ideal is to drink 500ml of water for a weight of 50kg every hour. It all depends on the intensity of the effort.
For an effort lasting less than 60 minutes, drinking water is sufficient. On the other hand, if you are an athlete and make an effort beyond this time and sweat profusely, nutritionists recommend a drink containing 6 to 8 g of carbohydrates per 100 ml of water, 500 to 700 mg/liter of sodium and 75 at 200 mg/l of potassium.
2. Eat Healthy Food
When embarking on a hiking adventure, snacks play a crucial role in facilitating effective recovery. Optimal choices include fruits, prized for their rich content of carbohydrates, vitamins, and minerals. Furthermore, fruits boast alkalizing properties that aid in facilitating the elimination of acidic waste produced by the body. The most effective and practical to eat on the spot are apricots, figs, grapes, strawberries and raspberries, as well as apples, peaches and bananas.
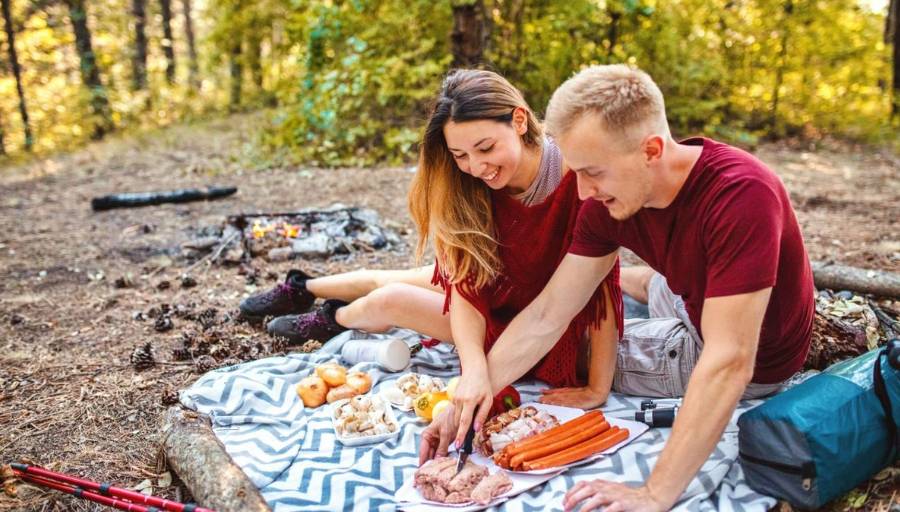
On the protein side, their contribution should be balanced at 50% of vegetable origin and 50% of animal origin. You can consume them conveniently during your excursion. You will find them in fermented yogurts, boiled eggs, and legumes such as split peas which contain 22%.
Like fruits, semi-whole grains will provide you with vitamins and minerals. They are more beneficial than refined cereals and more digestible than whole grains. You can combine them with legumes (lentils, split peas, beans, beans), rich in slow sugars and, depending on their nature, just as rich in potassium, iron, magnesium, manganese, or even folate.
3. Stretching
The stretching stage is essential to prevent muscle and tendon injuries. We are talking more about alternative and light stretching than stretching strictly speaking. They should not be painful. To avoid any pain, they will be performed gradually while breathing deeply.
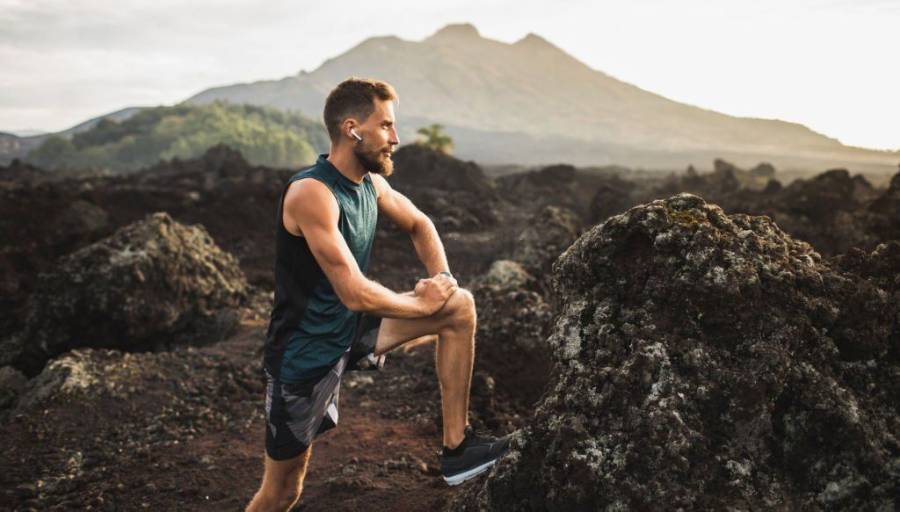
Indeed, hiking in the mountains tends to strongly contract the leg muscles because of their unevenness: the muscles at the front and back of the thighs, the calves, and the ankles. So they need to be softened afterward. We agree that these exercises should not be practiced “cold”, without a prior warm-up. To perform these exercises correctly, the ideal is to hold each position for 20 to 30 seconds without forcing.
Hamstrings
To soften the muscles at the back of the thighs: put your feet flat and legs apart beyond the width of the pelvis. Then cross your hands behind your straight back and gently tilt your chest forward. In case of tension at the back of the knees, simply bend the legs slightly.
Quadriceps
For the muscles located at the front of the thighs, start the exercise by keeping your balance, by holding on to a tree for example. Bend the right knee and hold the ankle with the left hand. Slightly bend your left leg while keeping your back straight. Then slowly draw the right leg back. Hold 20 to 30 seconds without forcing. That’s it, you’re ready to move on to the other leg.
Calves
To gently stretch the right calf, place the left leg forward and the right leg back both heels flat. Slowly bend the left leg. After about twenty seconds in this position, switch to the other leg.
Back and Psoas
The back is not spared either during a hike. If you hike with a backpack, pay attention to the back muscles: lumbar, latissimus dorsi, trapezius, deltoids and cervical. To relax it, unroll your spine well, position yourself with your arms stretched above your head while holding your hands, and stretch your back while keeping your heels firmly on the ground. Be careful not to hold your breath during this exercise. It must be as deep as during the previous exercises. Again, hold the position for 20-30 seconds, then gently release.
4. Massages Essential Parts
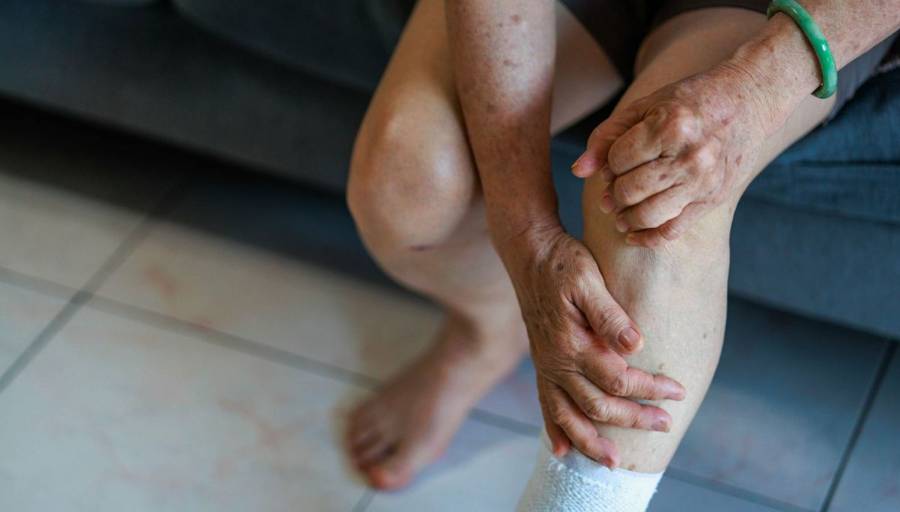
If you don’t have a masseur available, you can practice self-massage by focusing more on the legs and feet. This will allow you to avoid aches and the unpleasant feeling of heavy legs as much as possible.
Once you get home, lying down on an acupressure mat (such as the TREKOLOGY Sleeping Pad) will benefit you, not only in relaxing but also in unclogging the muscle fibers of toxins (CO² or lactic acid) that your muscles have produced during the effort.
To lengthen the contract areas, the small spikes will stimulate blood circulation and prevent muscle contractures. You can lay your back on it for about ten minutes and then slide it under your legs. During the second stage, consider placing the acupressure cushion at the lower back (critical area after walking) or under the ankles.
If you don’t have a masseur available, you can practice self-massage by focusing more on the legs and feet. Whatever the technique used, massage will help you prevent tendonitis. Because as you know, tired muscles full of toxins make the tendons work harder. Either manually or with an acupressure tool, massaging yourself properly will promote better blood circulation and therefore aid in the elimination of waste.
5. Take Proper Rest
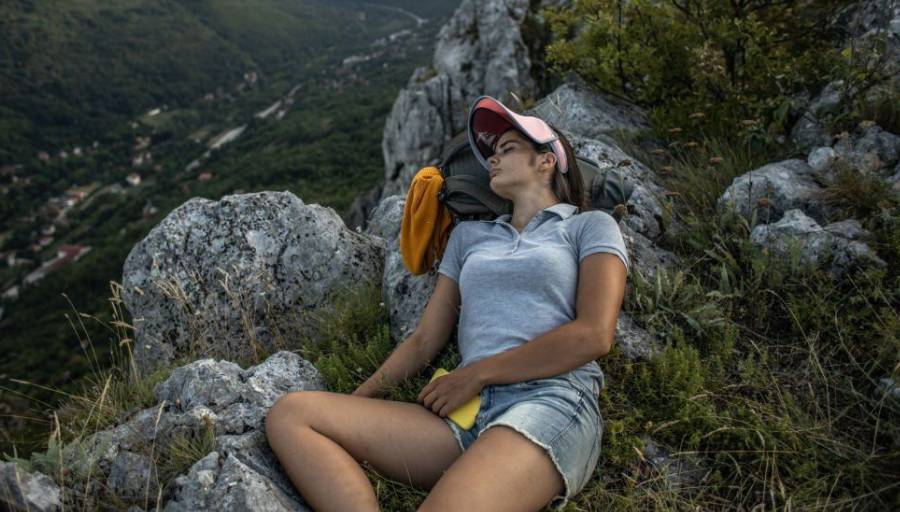
If a post-hike nap is on the agenda, it’s advisable to schedule it within 2 to 4 hours of the exertion. Limit the nap duration to no more than 30 minutes to avoid disrupting the sleep cycle for the upcoming night. Engaging in evening rest doesn’t necessarily entail lounging on the sofa all evening; capitalize on the opportunity to secure a rejuvenating night’s sleep by retiring to bed earlier than your usual bedtime.
Arrange to have dinner at least 2 hours before bedtime. The foods to favor during this meal are vegetables and dairy products. Dairy products promote the production of serotonin, which has soothing properties and makes it easier to fall asleep. All the same, better to avoid cheese because it has the annoying tendency to slow down digestion.
A small cool or lukewarm shower isn’t to be excluded to help your body to lower its temperature. This will only be even more favorable to falling asleep. Taking that shower 30 minutes before you go to bed is the right time. When you get comfortable in your bed or tent, consider raising your legs slightly. This will facilitate venous return.
Conclusion
These tips and tricks should be tailored to your individual sensations and the intensity of the exertion. By doing so, they can aid in ensuring a more comfortable experience the following day, mitigating the discomfort associated with the hike and preparing you for the next adventure.
Good equipment also means fast and better recovery: compression clothes will help you not suffer from the effects of gravity when walking by improving venous and lymphatic return. They must exert their pressure on the lower limbs, from the toes to the pelvis. You will find them in the form of pairs of socks, gaiters, shorts, pants, and even wrist sleeves, especially recommended for Nordic walking.
And finally, don’t forget that good physical preparation will facilitate recovery.


