How to Pack Snowboarding Gear for Flights
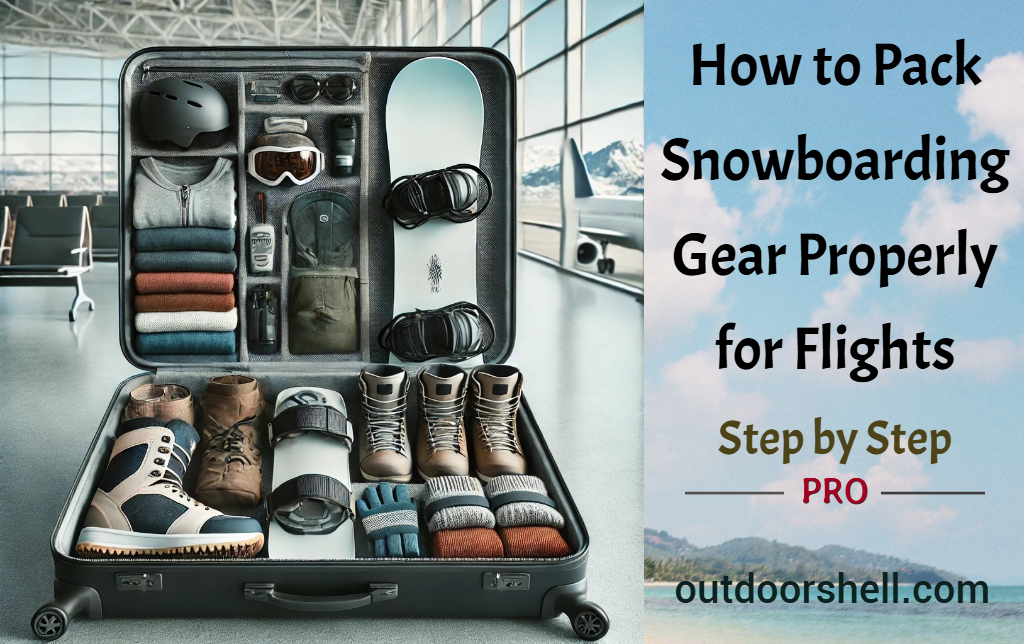
Traveling to your favorite snowboarding destination is always exciting, but flying with your gear can be challenging if you’re not prepared. With over eight years of experience packing snowboarding gear for flights, we’ve mastered the art of protecting your equipment while keeping things organized and stress-free. This guide will walk you through the essential steps to ensure your gear arrives safely, and you’ll feel confident every step of the way.
Why Proper Packing Matters?
Snowboarding gear is an investment, and improper packing can lead to damage or additional costs. Airlines have specific rules about checked luggage, including size and weight restrictions, which can complicate things. Whether you’re heading to the Rockies, Alps, or Japan’s powdery slopes, understanding how to pack efficiently will save you money, protect your gear, and keep your travel experience smooth.
Step 1: Choose the Right Snowboard Bag
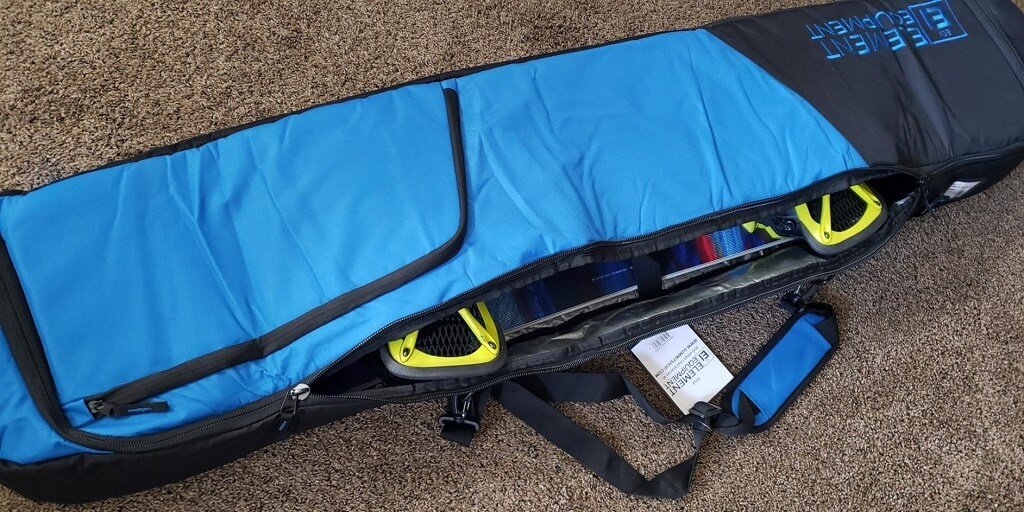
Types of Snowboard Bags:
- Soft Bags: These are lightweight and flexible, making them ideal for short trips or minimal protection needs.
- Hard Cases: Offer superior protection against impact but can be heavier and pricier.
- Wheeled Bags: Perfect for navigating airports effortlessly, especially with heavy gear.
Look for padded compartments, which are essential to cushion your snowboard against rough handling. Prefer reinforced zippers and high-quality material like ballistic nylon are crucial. Straps and handles ensure easy maneuverability. Choose a bag that fits your snowboard, bindings, boots, and other accessories.
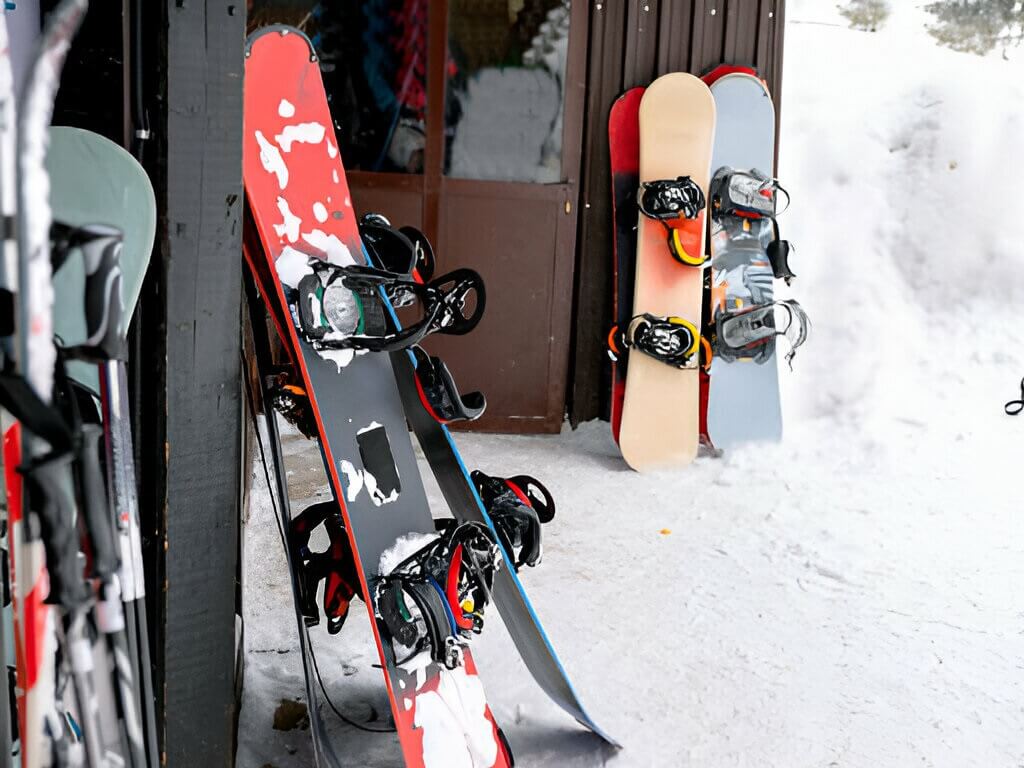
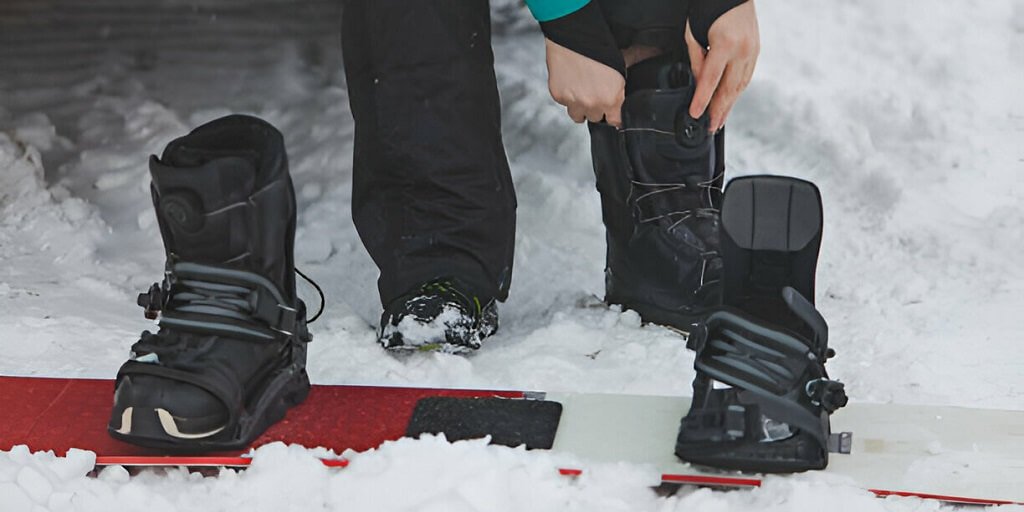
Step 2: Prep Your Snowboard
Properly preparing your snowboard ensures it’s protected during transit. Taking off the bindings reduces the risk of damage and helps your board fit better in the bag. Wipe off dirt and debris to prevent them from scratching the surface. Use bubble wrap or foam pipe insulation along the edges to protect them from dings.
Step 3: Pack Your Snowboard Boots
Boots are one of the bulkiest items you’ll pack, but with careful planning, they won’t take up too much space. Many snowboard bags include boot compartments. If yours doesn’t, consider a separate boot bag. Maximize space by stuffing socks, gloves, or smaller clothing items inside your boots. Place the boots in a plastic bag or wrap them in clothing to prevent scuffs.
Step 4: Protect Your Accessories
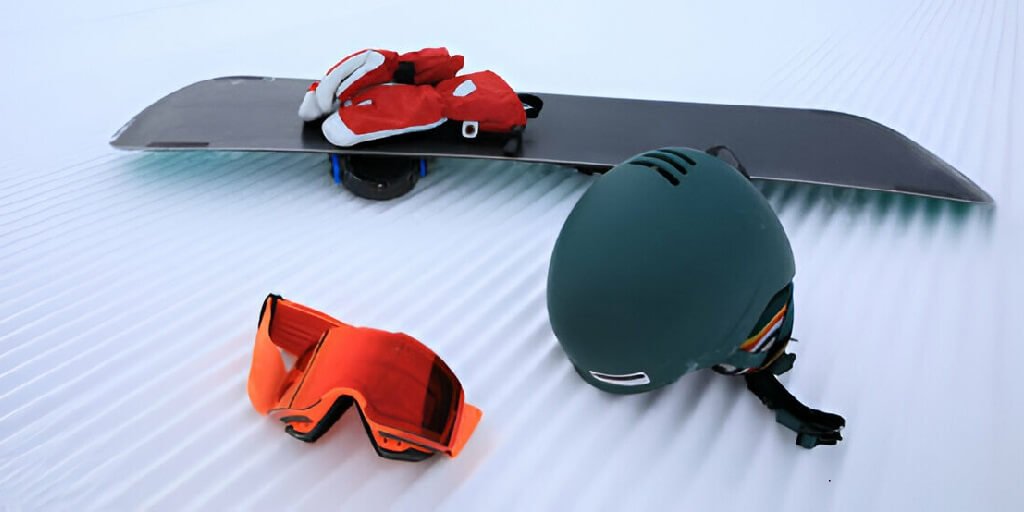
Your snowboarding accessories, like helmets, goggles, gloves, and outerwear, are just as important as your board. Here’s how to pack them:
- Helmet: Place your helmet in a padded bag or wrap it with soft clothing, like a jacket or fleece.
- Goggles: Always use a hard case for goggles to avoid scratches or cracks. If you don’t have a case, wrap them in a soft microfiber cloth.
- Outerwear: Roll your jackets and pants to save space and reduce wrinkles. Use them as additional padding around your gear.
Step 5: Balance Weight Distribution
Airlines often have strict weight limits, so it’s crucial to distribute weight efficiently:
- Use the Board Bag Wisely: Pack heavier items, like your board and boots, in your checked snowboard bag.
- Carry On Light Accessories: Items like gloves, hats, and socks can easily fit in your carry-on bag.
- Weigh Your Bag: Before heading to the airport, weigh your snowboard bag to ensure it meets airline requirements.
Step 6: Utilize Space Effectively
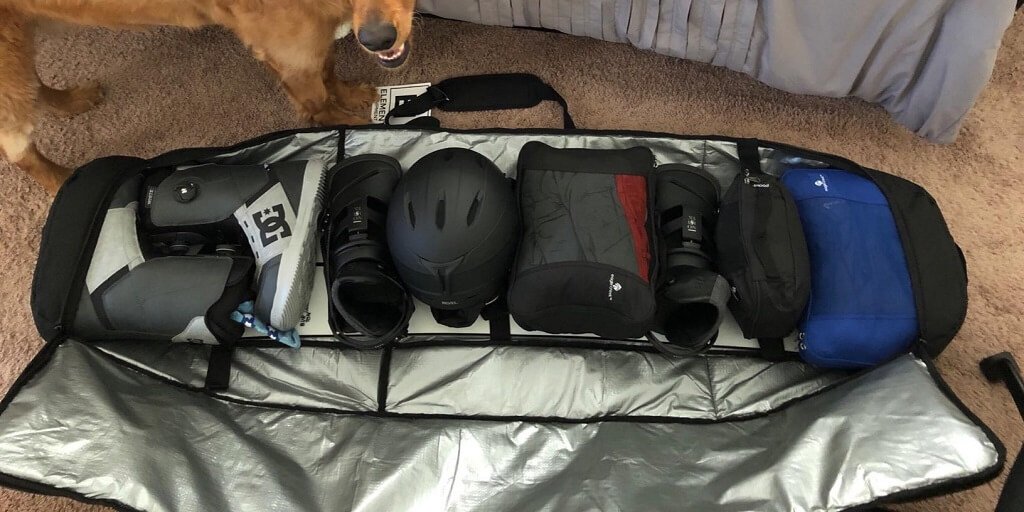
Packing efficiently not only saves space but also reduces stress. Place your snowboard at the bottom, followed by boots, bindings, and other accessories. Use compression bags. These are excellent for packing bulky clothing items like jackets and pants. Fill every gap with small items, such as gloves, socks, and tools, can fill gaps around larger items.
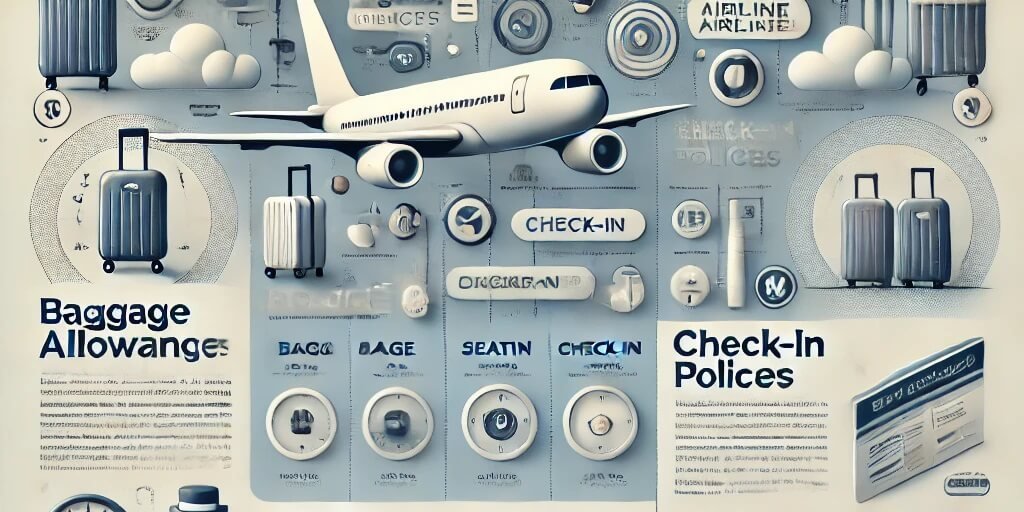
Step 7: Consider Airline Policies
Airline rules for snowboarding gear vary, so it’s essential to check their policies before your flight:
- Gear-Specific Allowances: Some airlines consider snowboard bags as standard checked luggage, while others may charge oversized fees.
- Weight Limits: Most airlines allow checked bags up to 50 pounds; exceeding this may incur extra costs.
- Insurance: Consider travel insurance that covers sports equipment for added peace of mind.
Step 8: Essential Extras to Pack
Beyond the basics, here are a few extras you shouldn’t forget:
- Repair Kit: Include a multitool, extra screws, and wax for on-the-go fixes.
- Snacks and Hydration: Long flights can be draining, so pack snacks and a reusable water bottle.
- Travel Insurance Info: Keep a copy of your policy details handy.
- Itinerary and Receipts: If you’ve rented a car or booked lodging, have these ready in case of delays.
Step 9: Tips for Hassle-Free Travel
- Label Your Bag: Add a luggage tag with your name, address, and contact information.
- Use TSA-Approved Locks: These deter theft while allowing airport security to inspect your bag if needed.
- Arrive Early: Give yourself extra time for check-in, especially if your snowboard bag needs special handling.
- Track Your Bag: Use a GPS tracker to monitor your bag’s location in case it’s delayed or lost.
Conclusion: Ready to Hit the Slopes
Packing snowboarding gear for a flight seems challenging, but with proper preparation, it becomes a straightforward process. Invest in the right bag, protect your gear, and understand airline policies. You’ll then ensure a smooth journey from the airport to the slopes. With our practical tips and years of experience, you can focus on shredding powder rather than worrying about your equipment. Safe travels, and enjoy the ride!